
- Joined
- Nov 2, 2005
- Location
- appleton WI
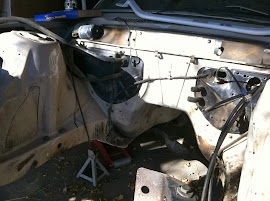
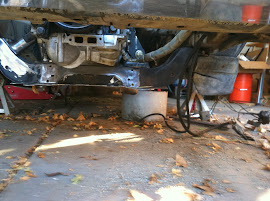
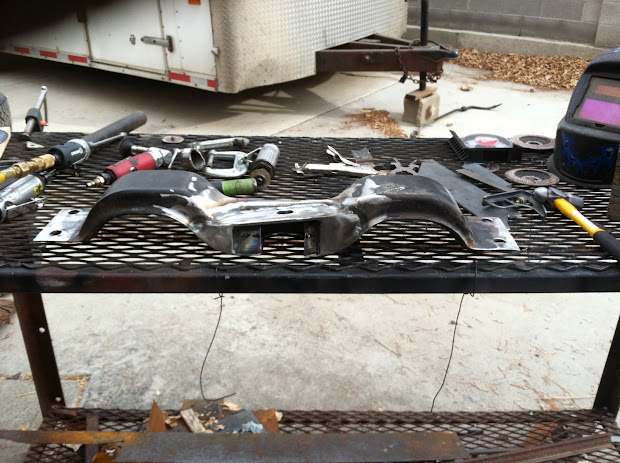
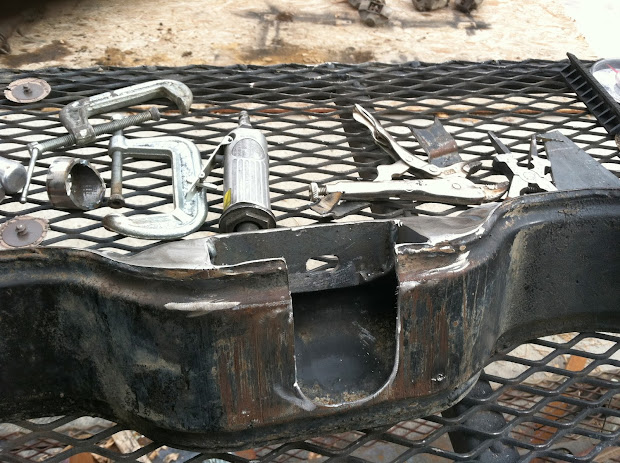
That lower brace hangs down really low. And that strut brace is far from a good design, I do really like the progress and project!
Hello Guest, welcome to the initial stages of our new platform!
You can find some additional information about where we are in the process of migrating the board and setting up our new software here
Thank you for being a part of our community!
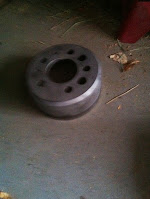
Any 850 flywheel is going to be single-mass, and yeah, that's the right part number. I know of a couple out here...I could source one for you if you're looking.
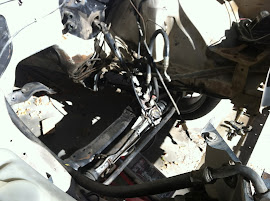
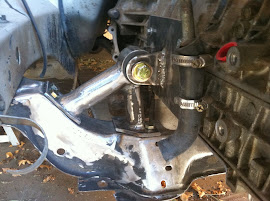
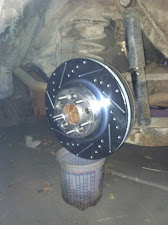
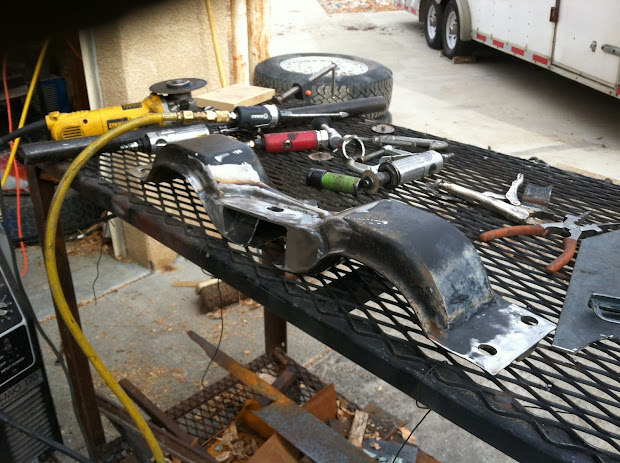
Nice job mounting the engine down low...how low is the sump hanging now?.
Another member on here is selling a T3350 I'm very tempted to pick up for behind my 5 cyl project.
That lower brace hangs down really low. And that strut brace is far from a good design, I do really like the progress and project!


Careful not to over tighten those tail lights or they'll spit out their lenses.
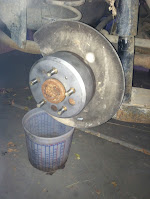
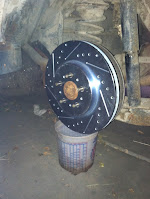
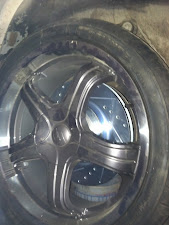
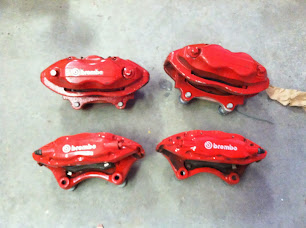
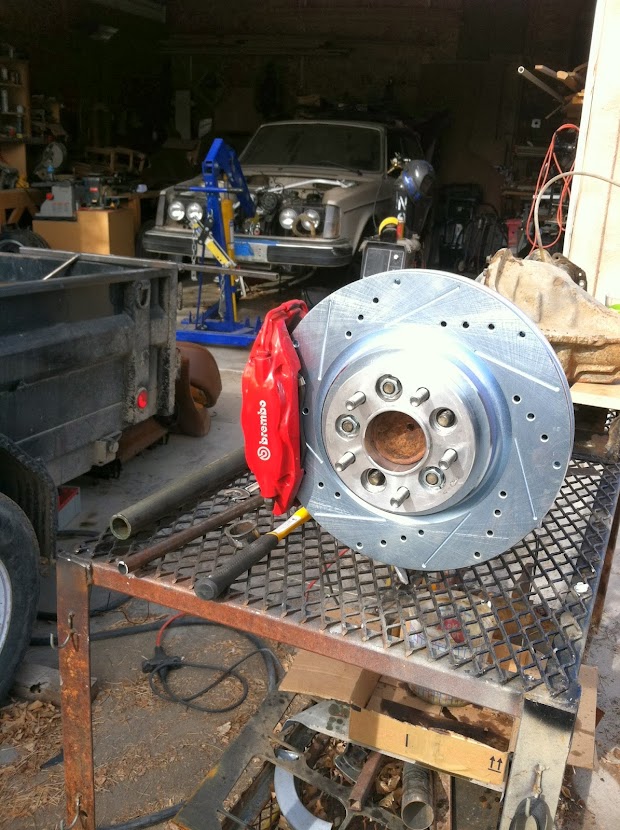
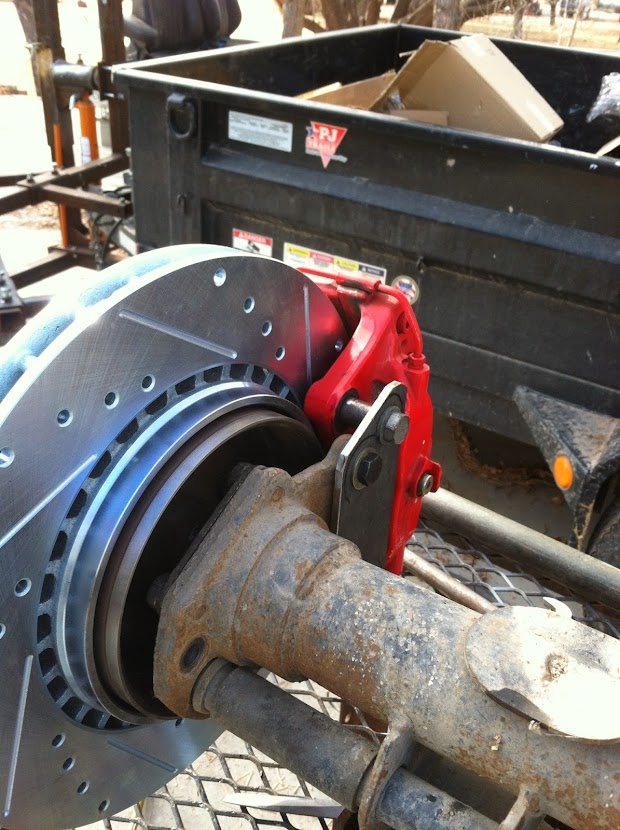
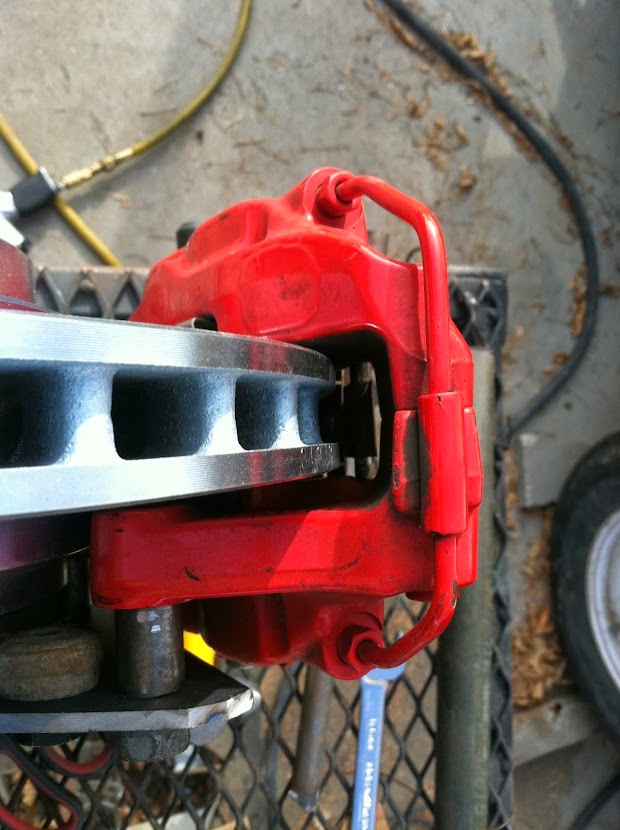
Nice, your doing the porshe brakes aswell?
remote start is so nice on cold mornings. sooooooo nice. people give me funny looks when they find out i have remote start on a 240. people will give you funny looks when they find out you have remote start... and a t6


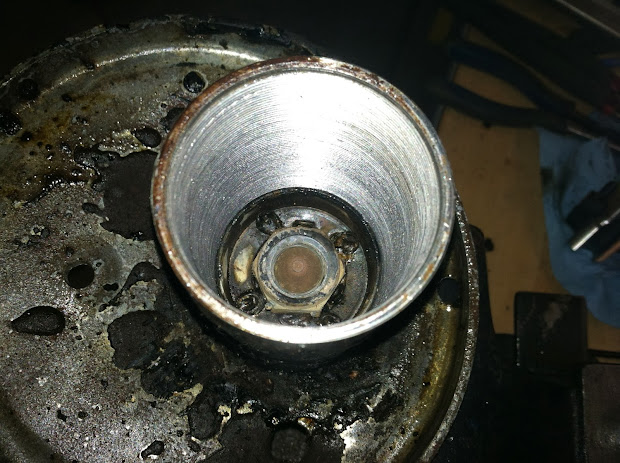
isnt it easier to cut the the threaded part off, then cut to desired length and weld the threaded part back on?")
Probably cheaper, but I can't imagine it is any easier. You have to build some kind of jig (even if it is only a couple of pieces of angle iron) to insure you get everything lined up straight. Then you need a welder and at least a basic amount of skill.
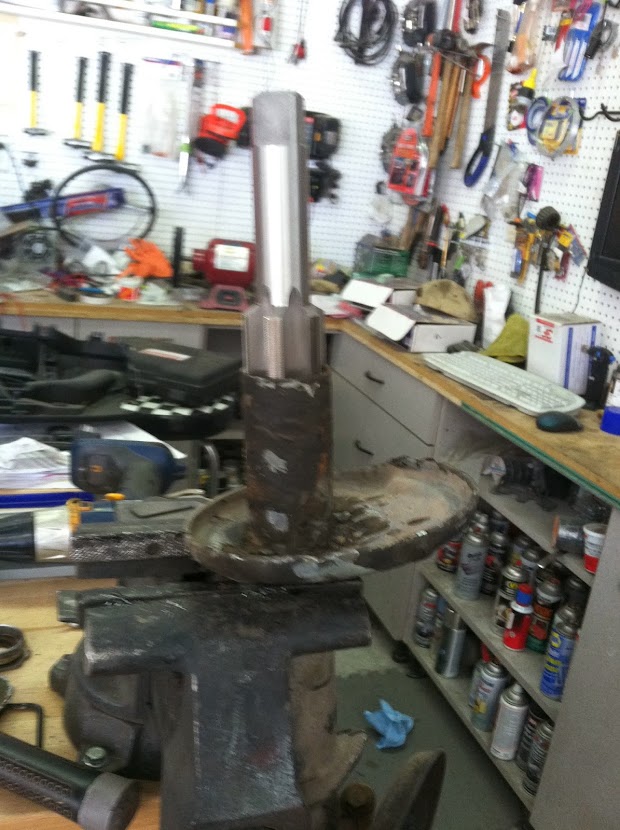
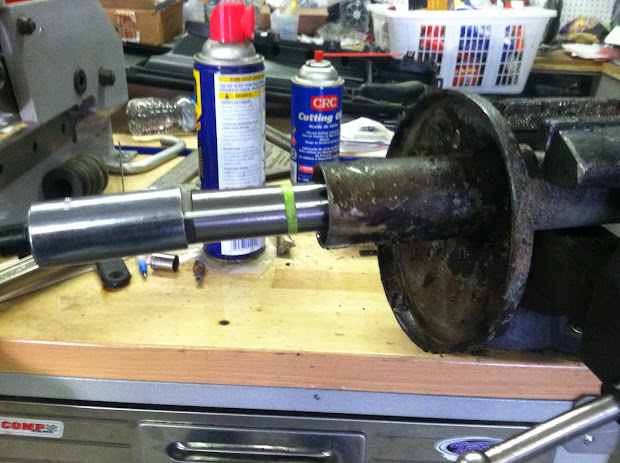
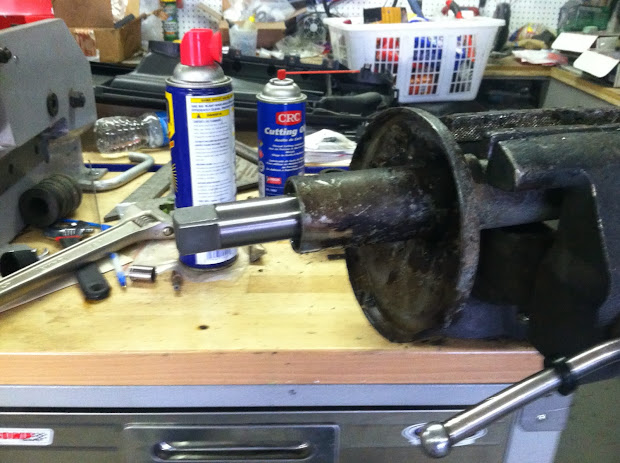
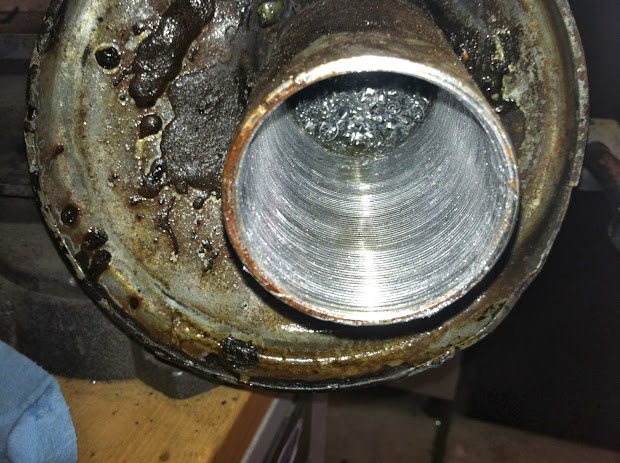
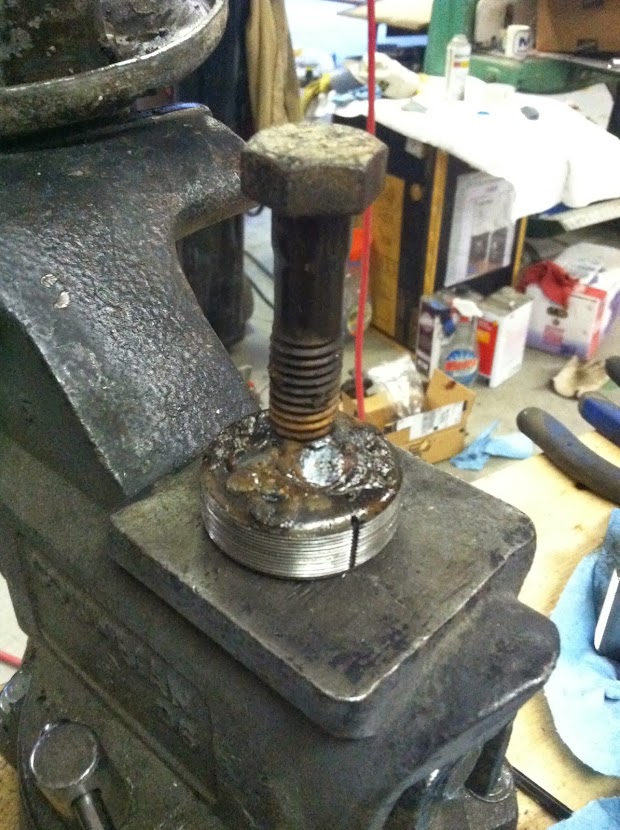
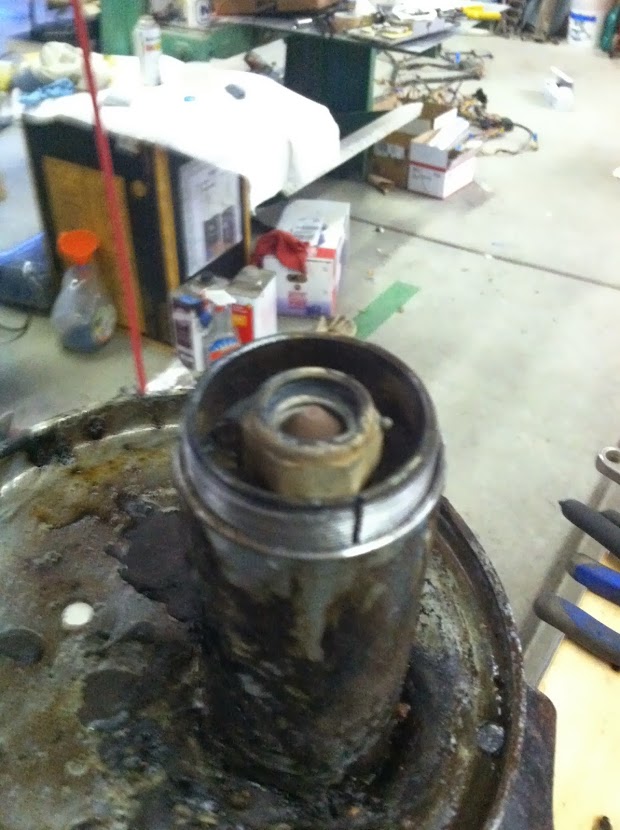
My way required a tap, a ratchet and a socket, thread the tap into the existing threads, ensuring you are straight in the tube, spray some cutting lube in the hole and start cutting threads. When you have the depth you want use a cutoff wheel or a hack saw and cut the tube to the desired length. No warpage from heat, no need for a welder and takes less than an hour.
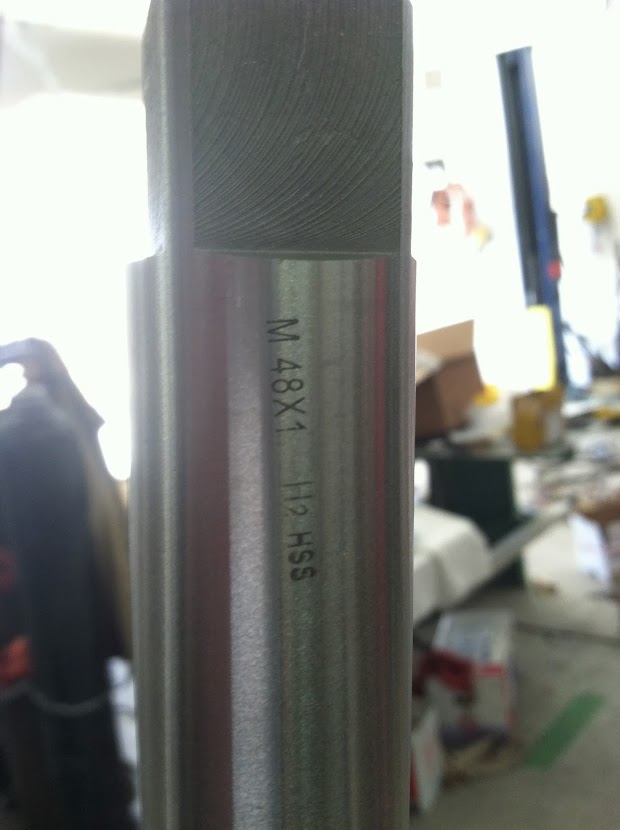
In my opinion, the only down side is the high cost of the tap. Hence the reason I plan to offer it up for rent. Maybe I recoupe some of the cost, maybe not. Either way I have found yet another solution to the problem and I get to own another tool. (The reason I tend to do most jobs that could have been done differently.)
")