vthreat
New member
- Joined
- Oct 18, 2004
- Location
- Uxbridge or Ottawa
had a little fun with my cluster today, I think I'm the first one to do this so here goes...
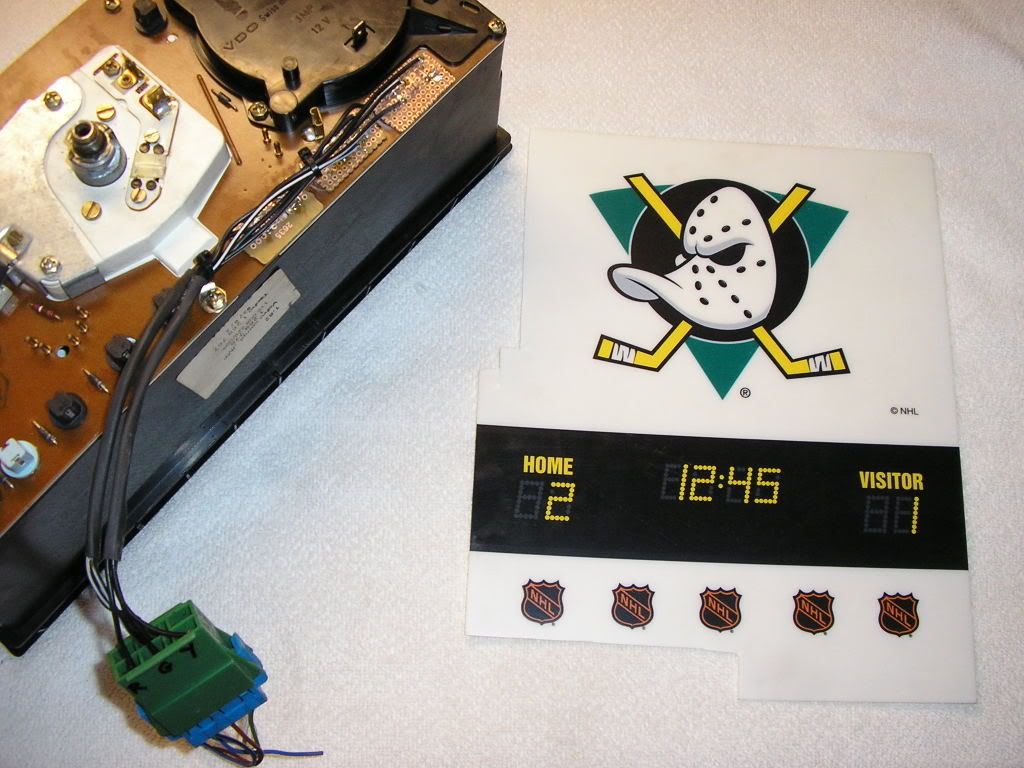
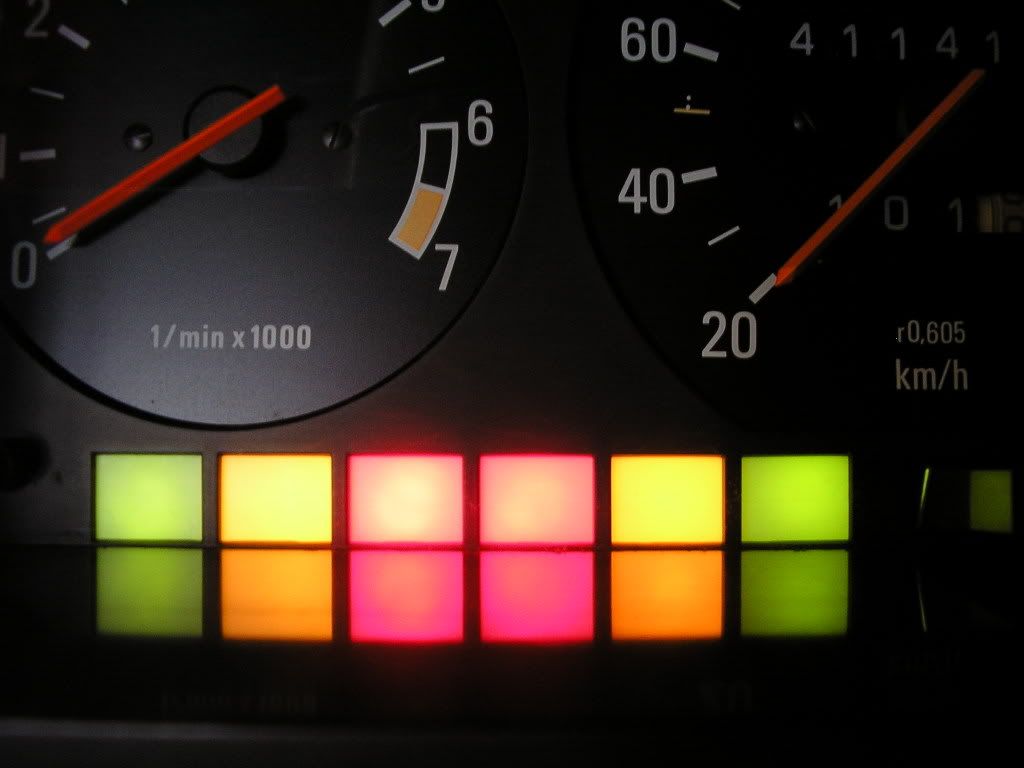
started with this
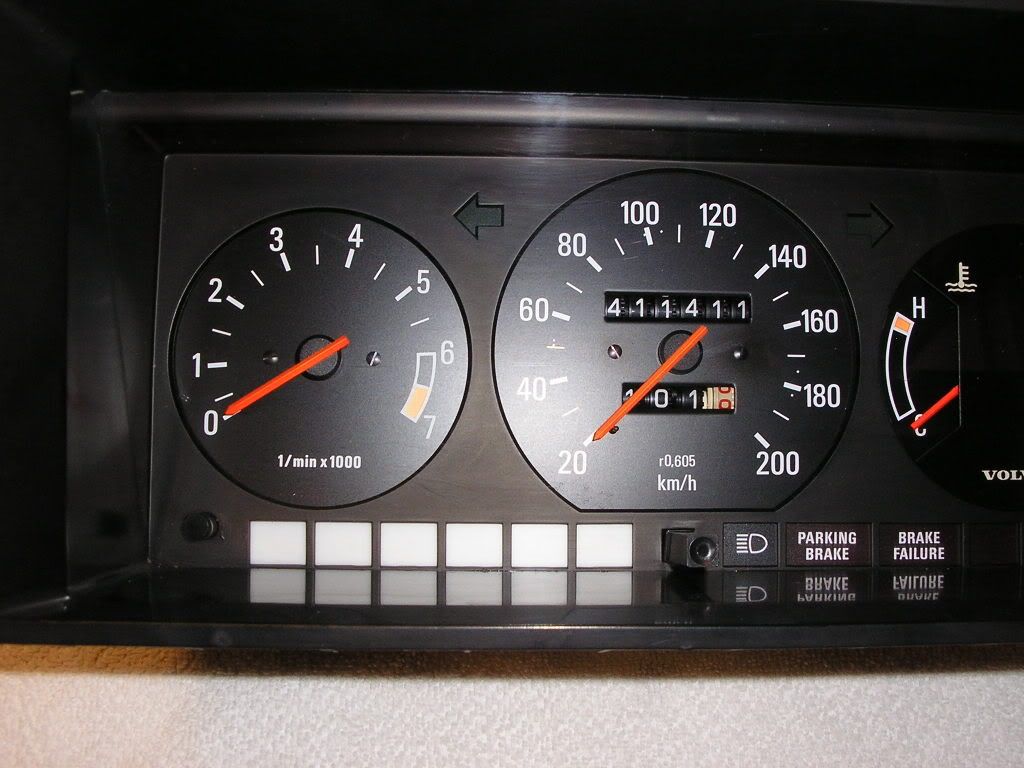
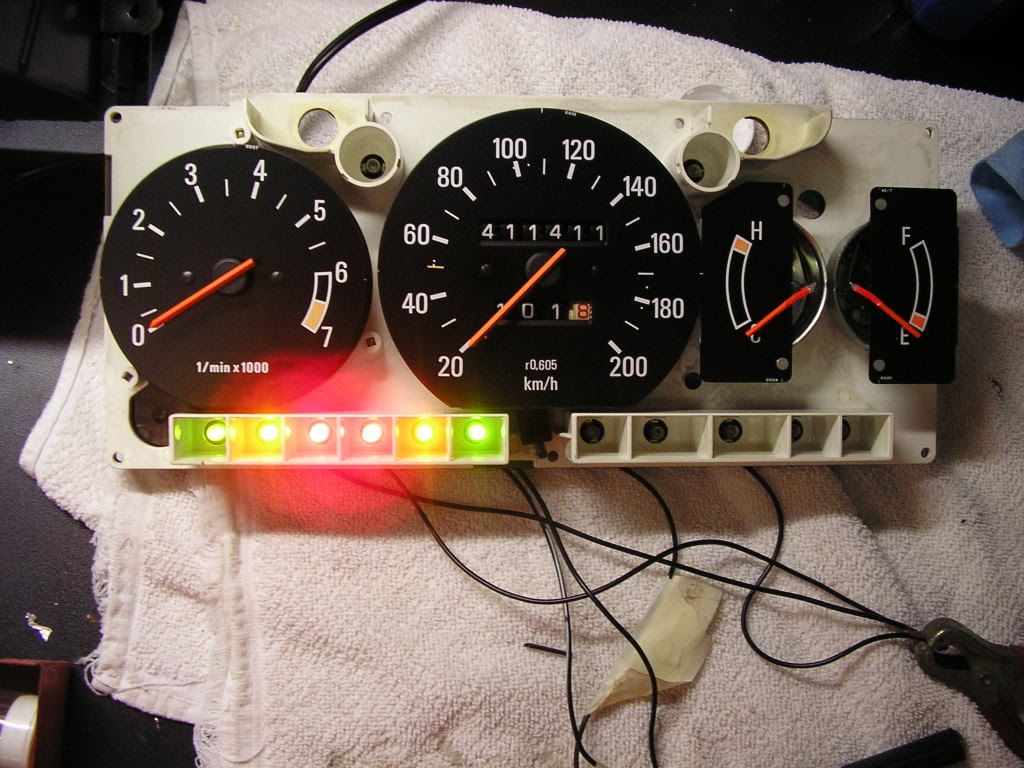
ended up with this
from the back
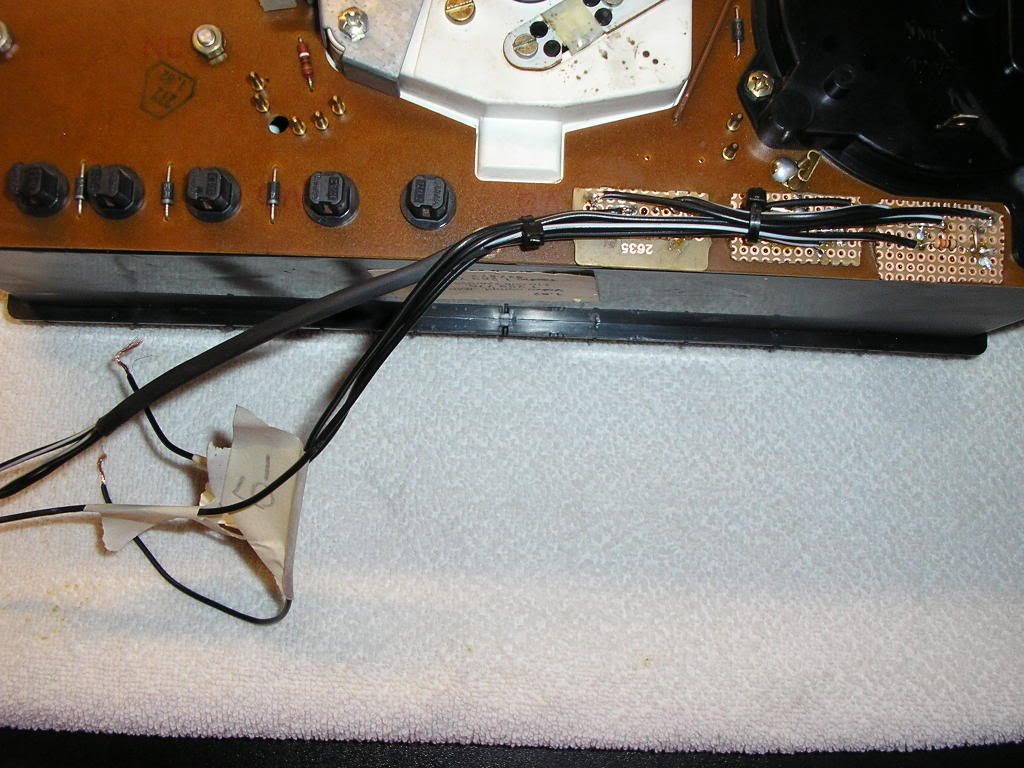
one more
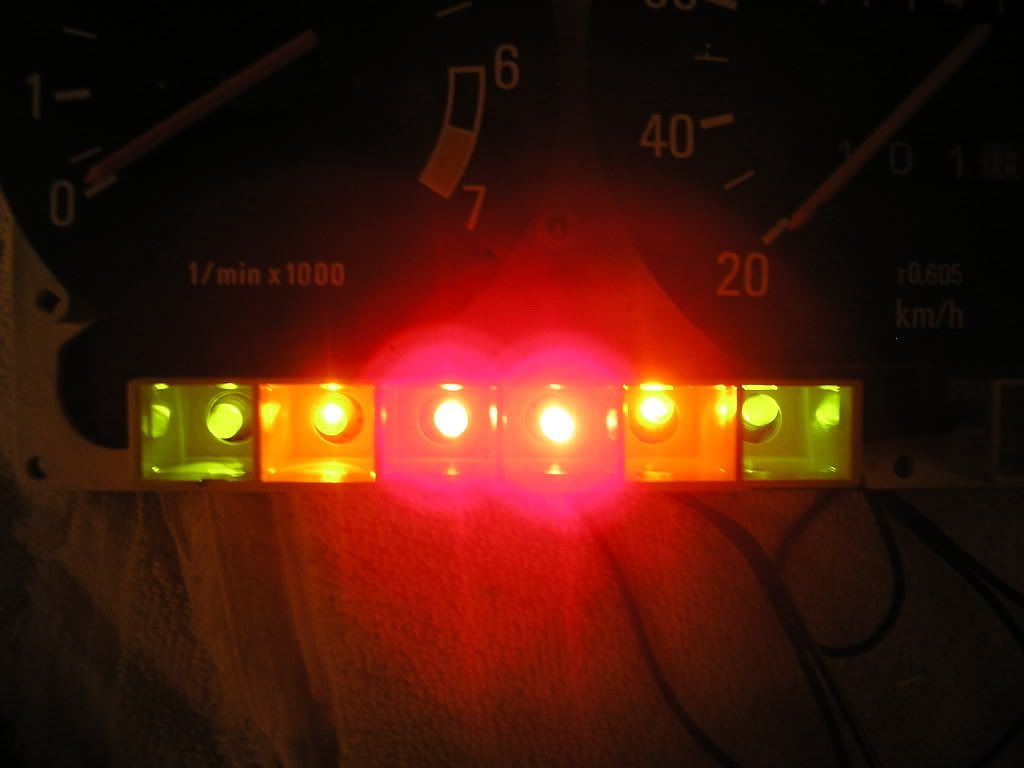
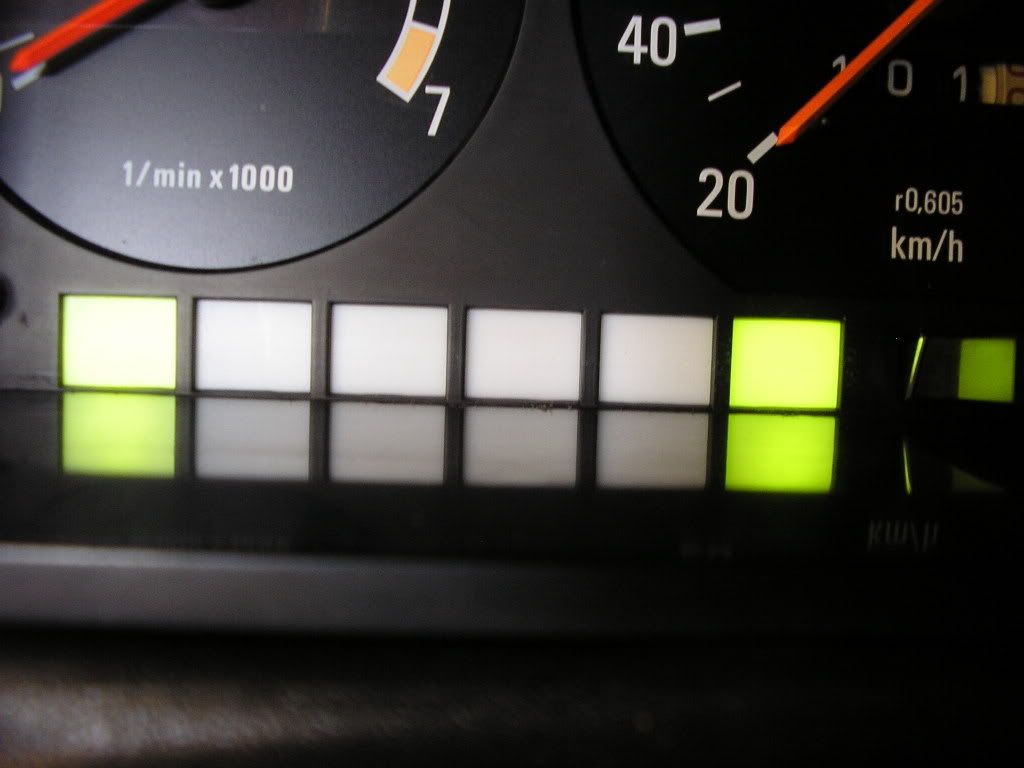
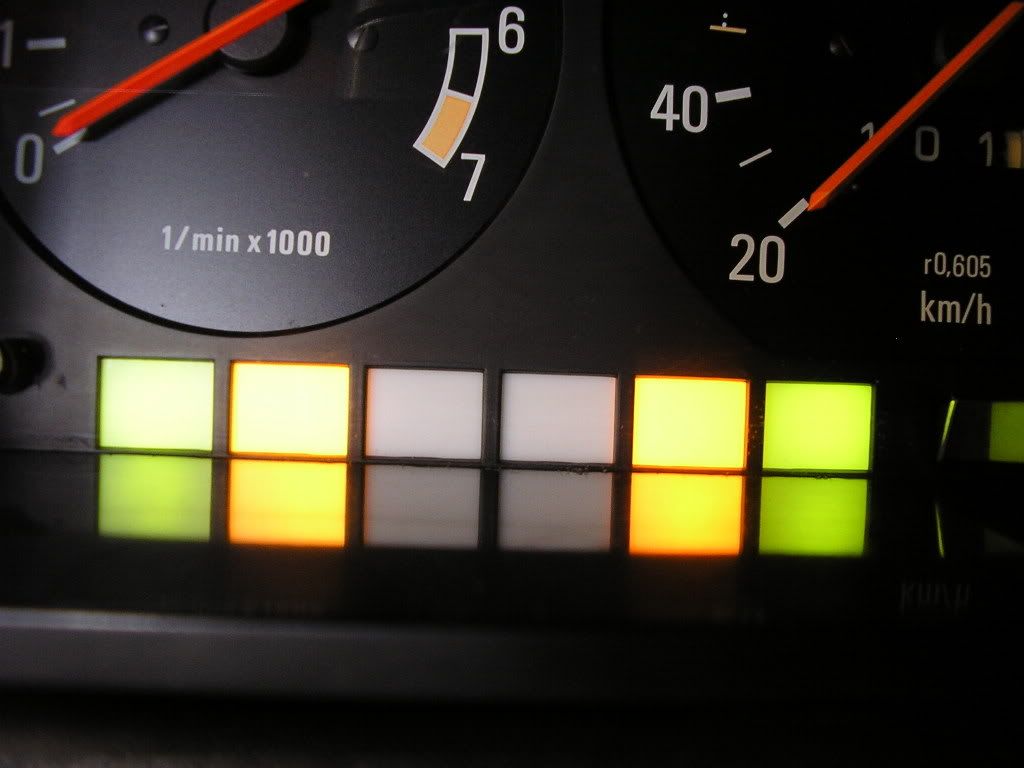
This is the start of my sequential shift light setup with MS. I'm still waiting on some transistors to make up the logic circuit but the bright side of the project is done!
its not 100% complete yet, I still have to put a tinted film in front of all the leds. With this setup I'll only lose the use of the oil and battery idiot lights so who cares since I have oil and voltage gauges. (plus I'm not an idiot )
)
The pictures don't really capture the effect, its better in person trust me
started with this
ended up with this
from the back
one more
This is the start of my sequential shift light setup with MS. I'm still waiting on some transistors to make up the logic circuit but the bright side of the project is done!
its not 100% complete yet, I still have to put a tinted film in front of all the leds. With this setup I'll only lose the use of the oil and battery idiot lights so who cares since I have oil and voltage gauges. (plus I'm not an idiot
)The pictures don't really capture the effect, its better in person trust me
 I've played way too much Need for Speed for this to be as funny as it is for me. Cool project though. Too bad my 240 is an auto, or I'd hit you up for the How-To.