• Hello Guest, welcome to the initial stages of our new platform!
    You can find some additional information about where we are in the process of migrating the board and setting up our new software here

    Thank you for being a part of our community!

Chuck's '80 264GLE - "The Blue One"

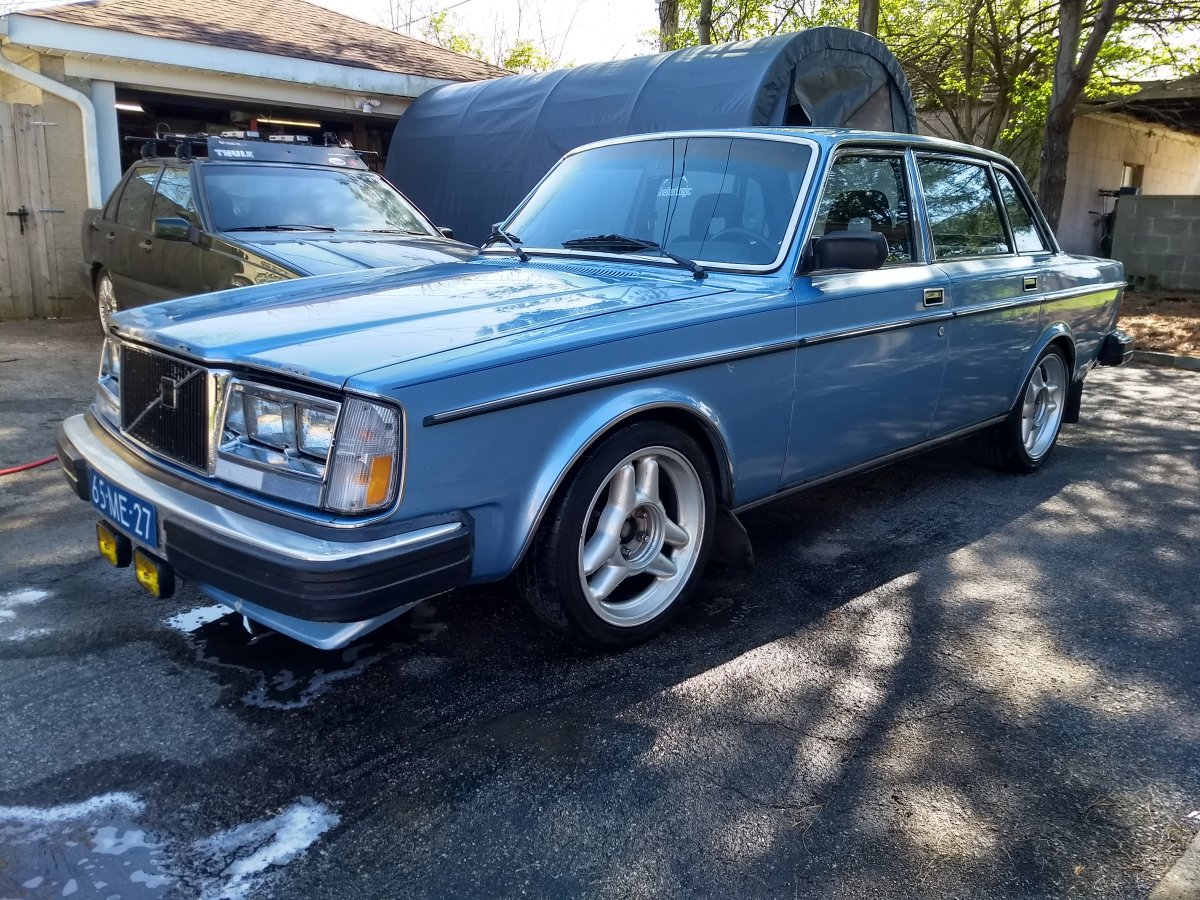
Time for a little bit of an update.
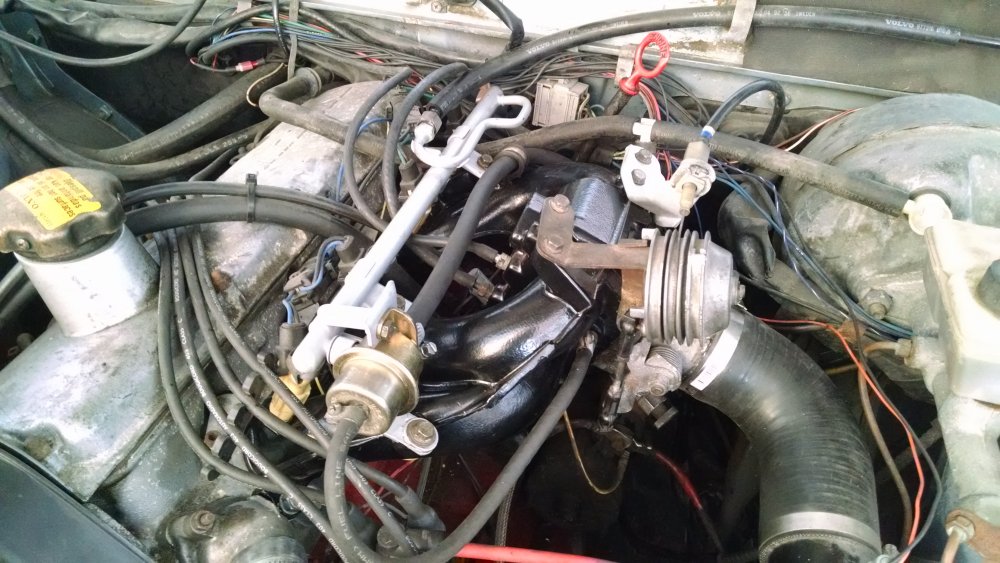
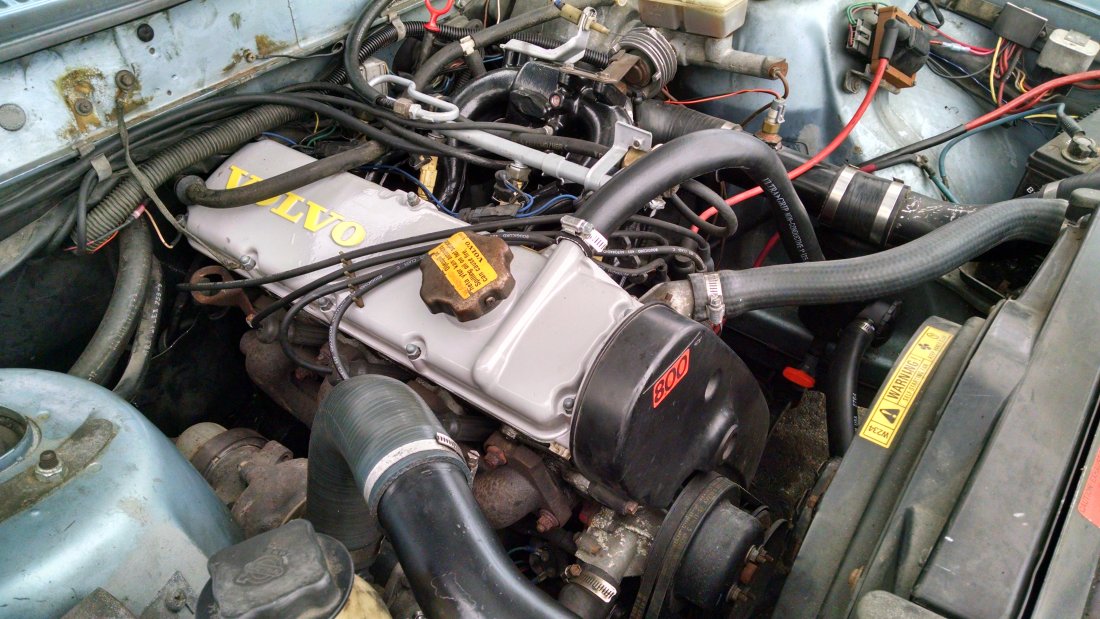
Been driving the car a bit, and working on the tune. Getting it dialed, but it's still got a couple problem issues that I'll address in the tech forum.

One of the things I've been working on is getting bits together for the T5 swap I want to do. I have a 4cyl T5, which most folks don't like, but it's what I have, and will work with this car and the gearing.
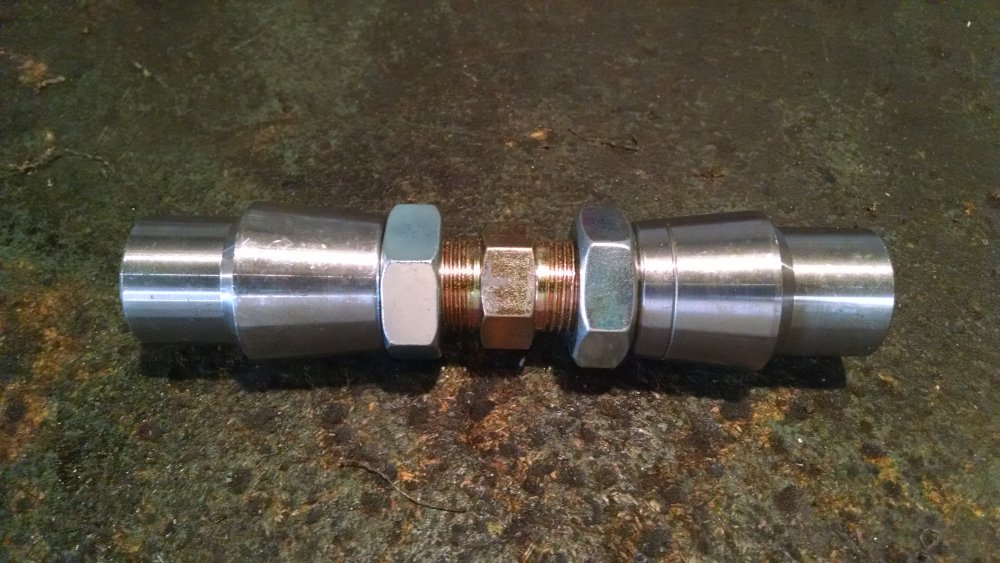
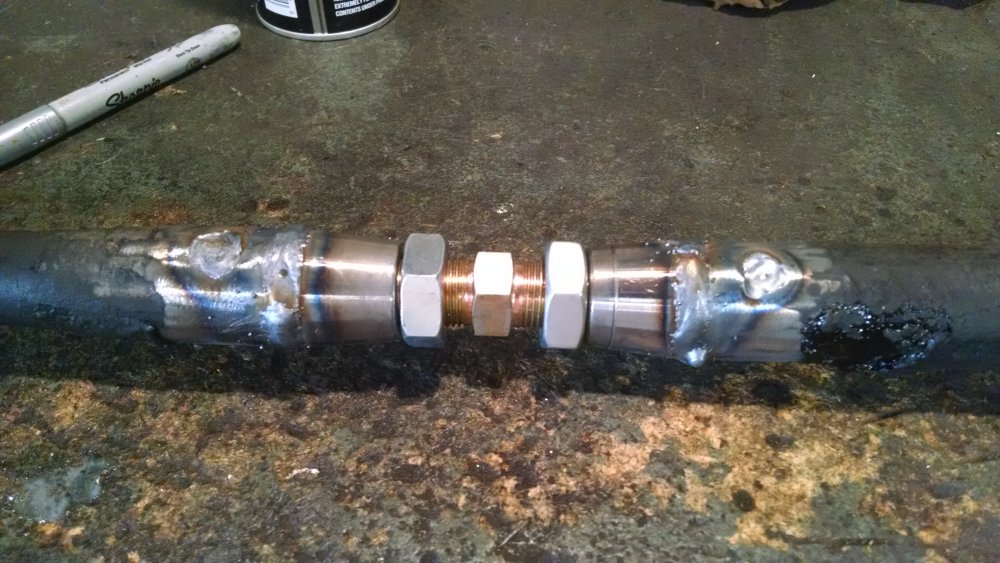
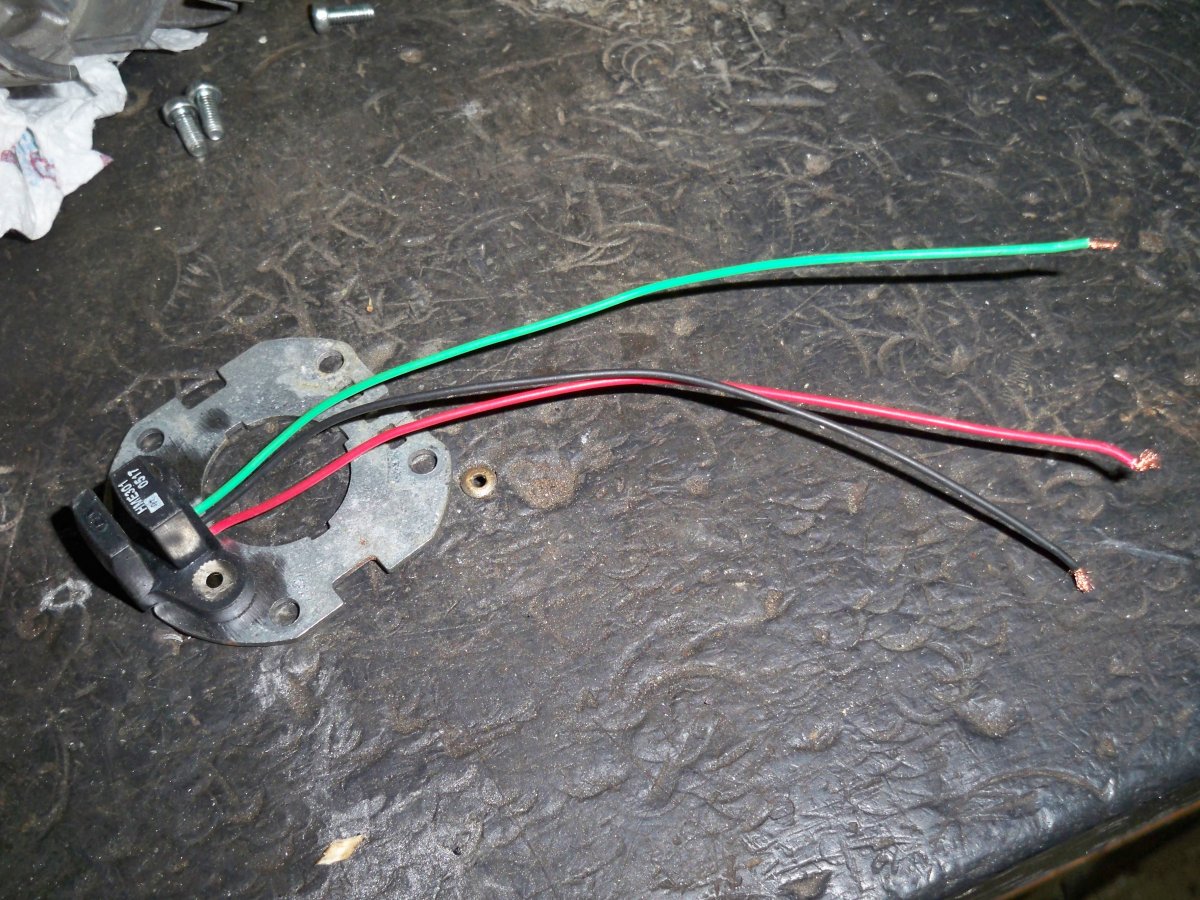
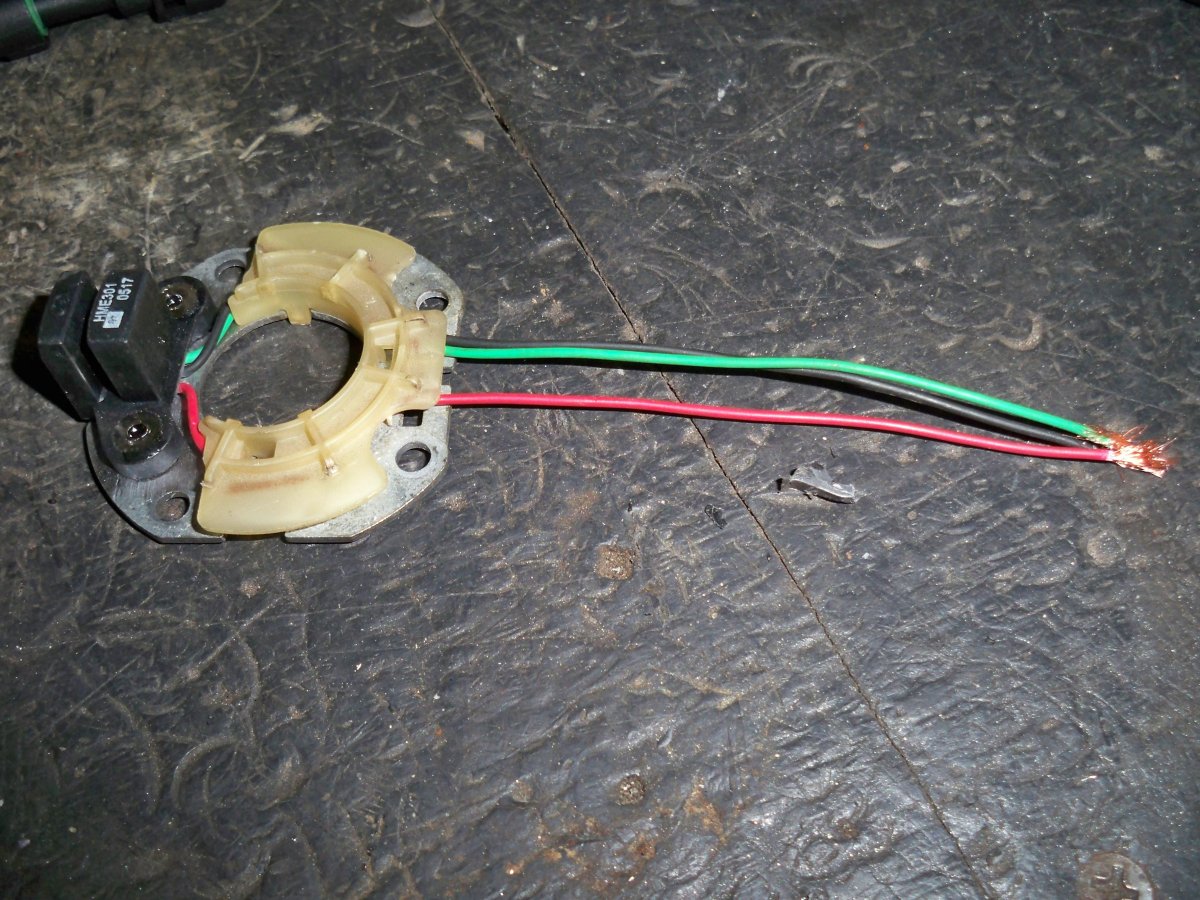
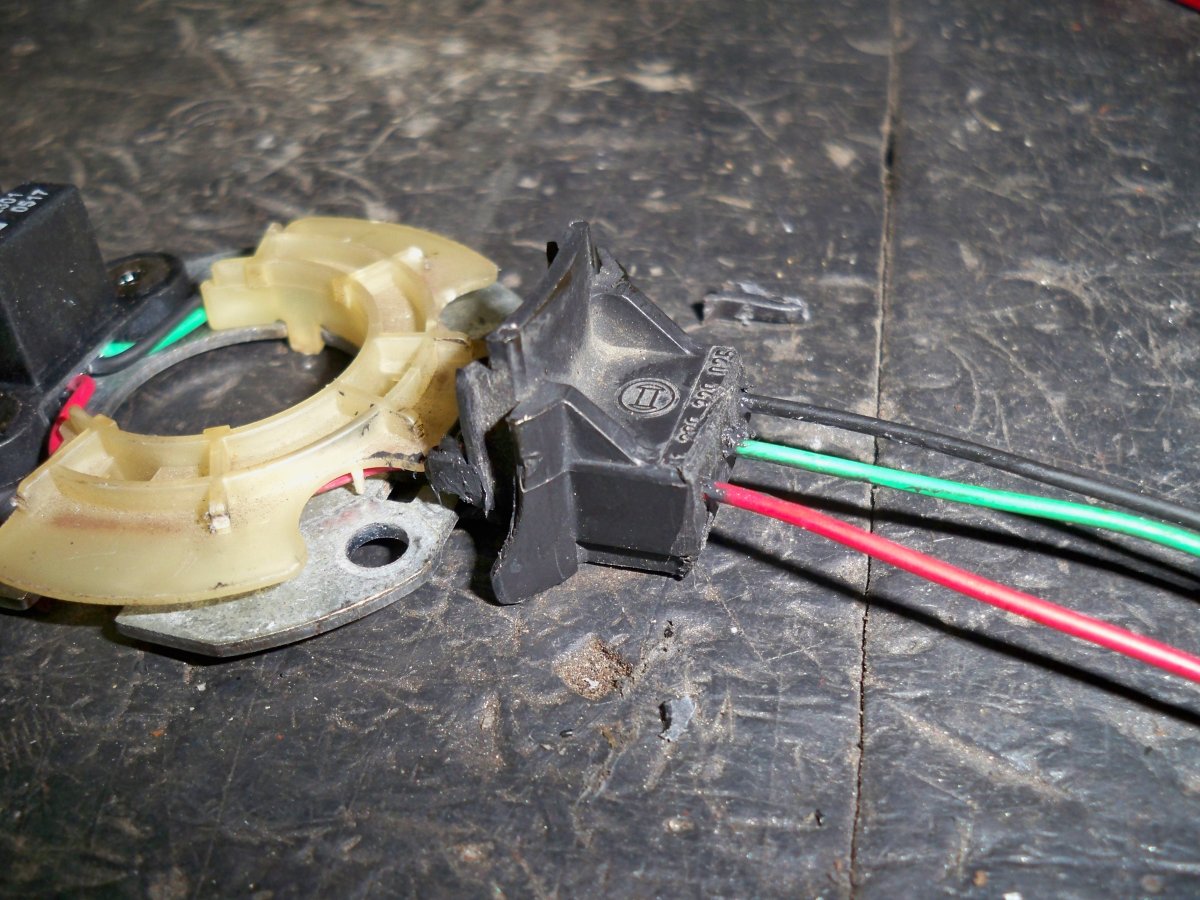
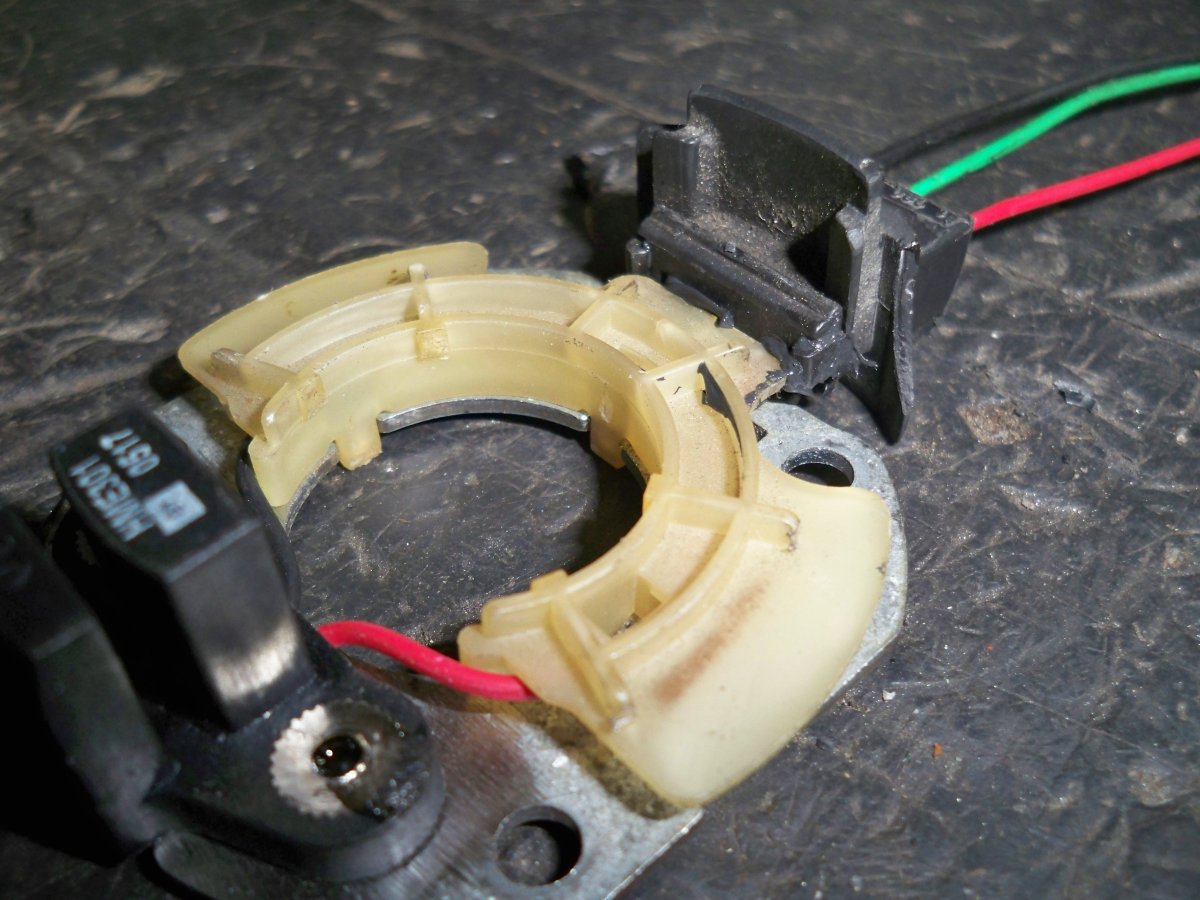
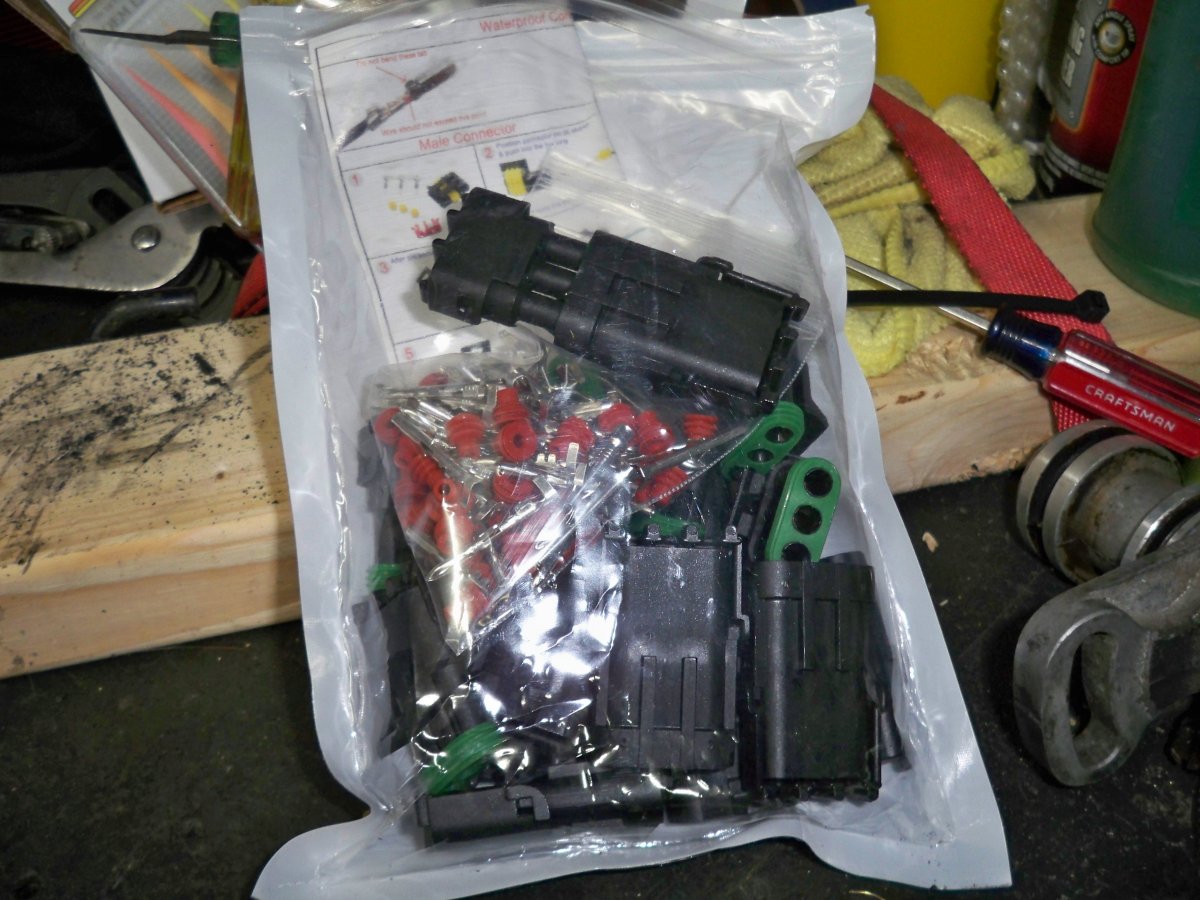
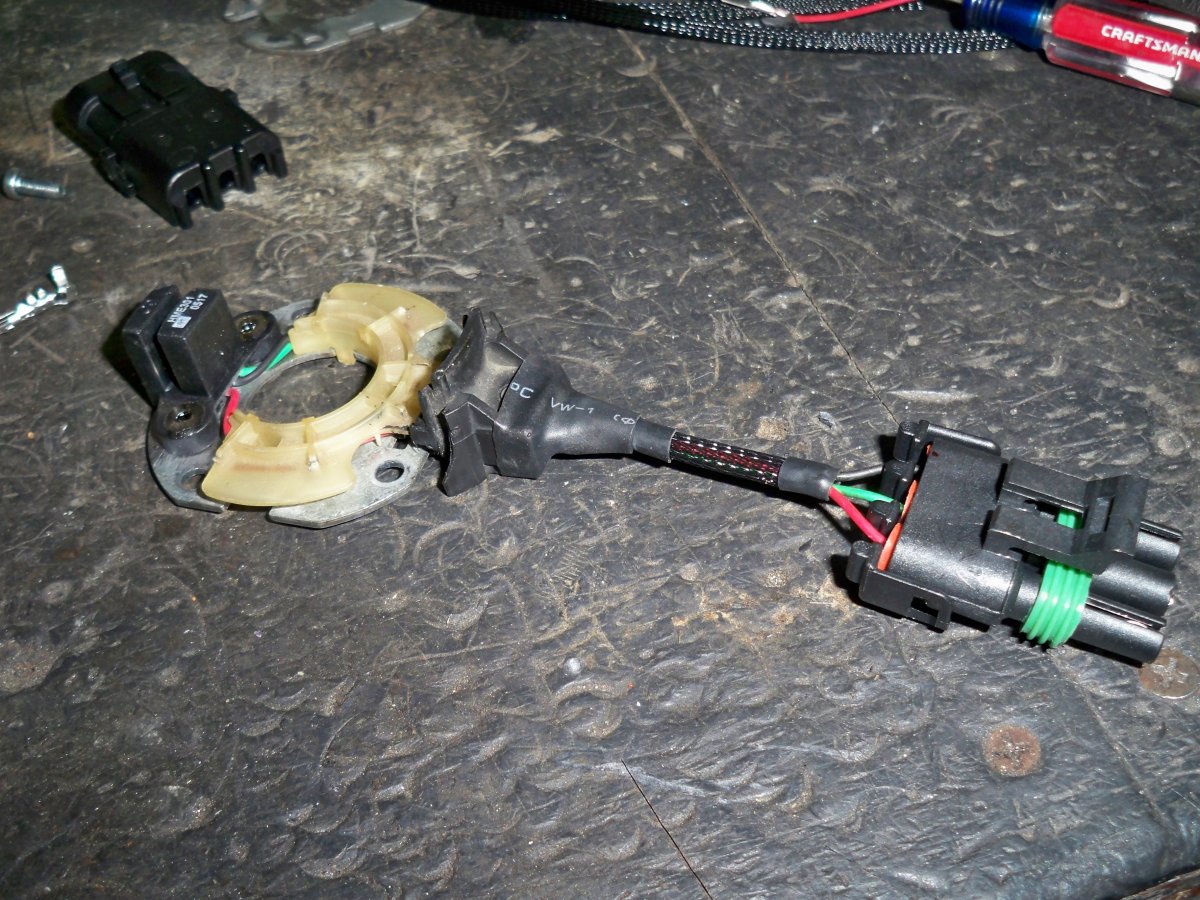
I have one of the Avalanche kits, which are spec'ed for the V8 T5, so I needed to address the issue with the difference in the input shaft bearing retainer.
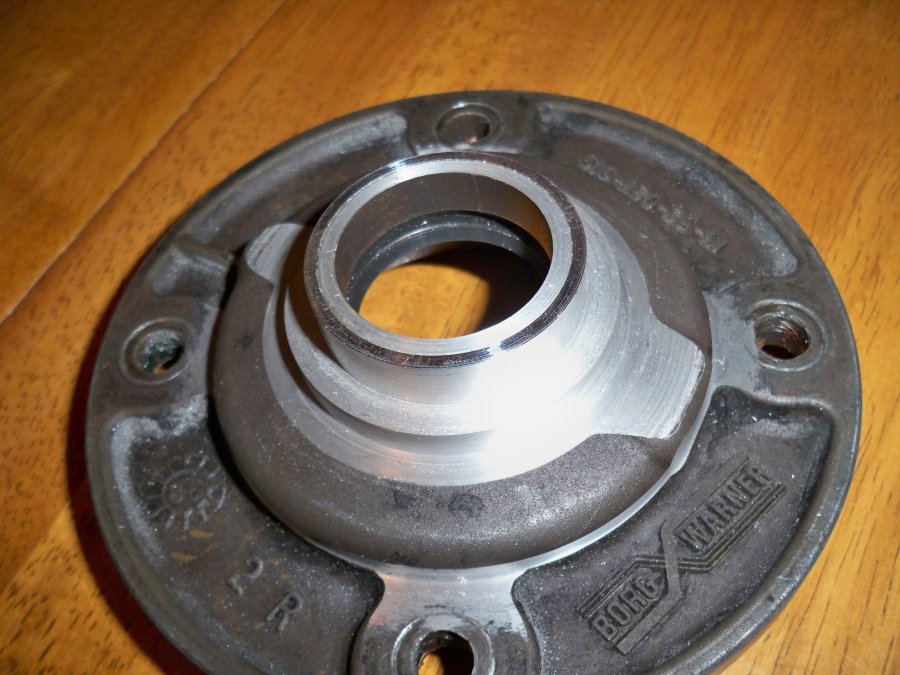
I modded the stock bearing retainer, so it would work with the adapter plate.
T5_Bearing_Ret.jpg

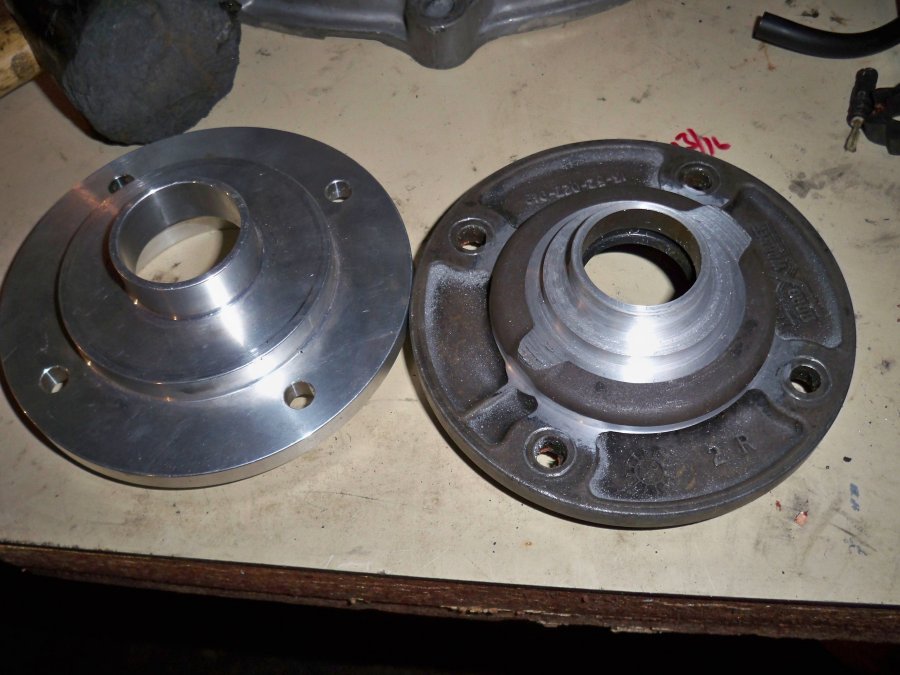
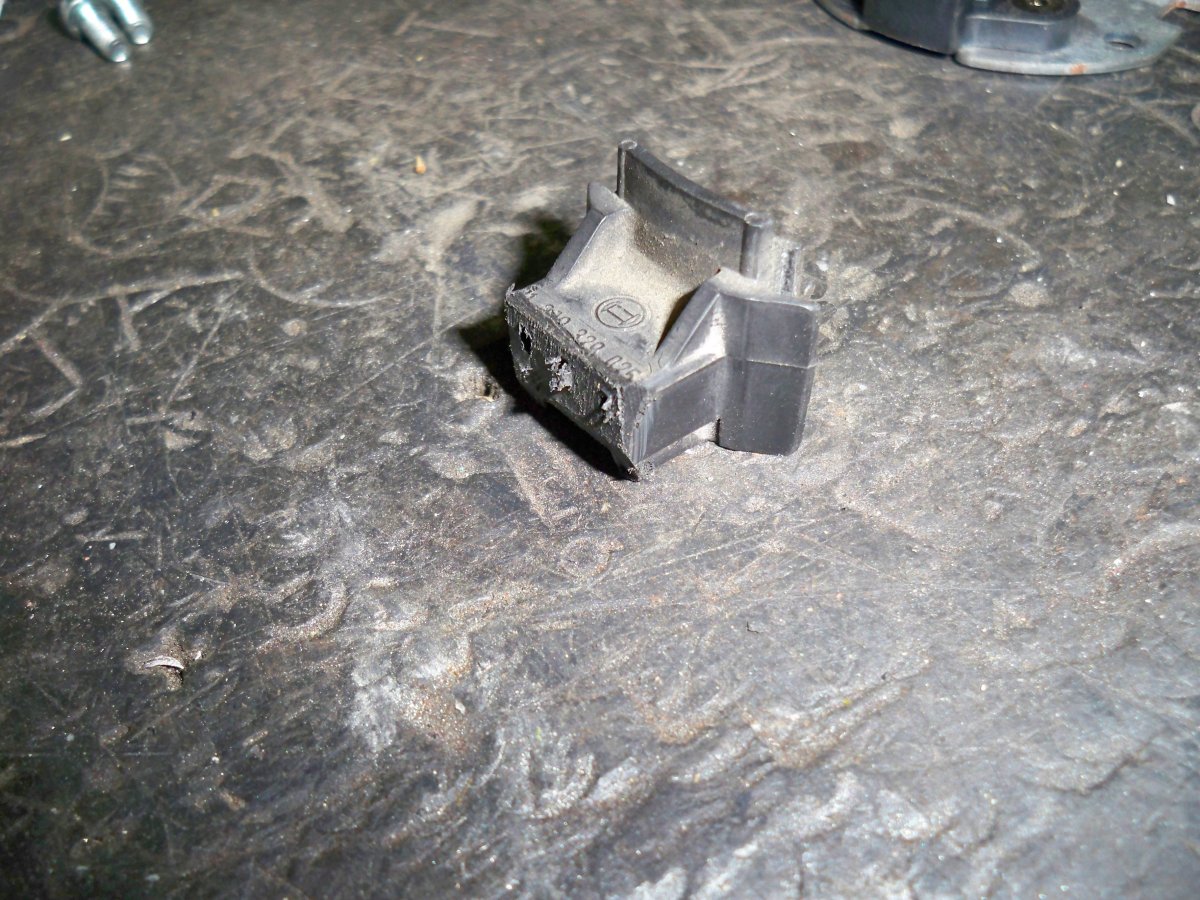
I needed to add a little spacer ring, so everything would line up properly, without any extra alignment dowels or the like.
T5_Bear_Ret_Mod.jpg
.
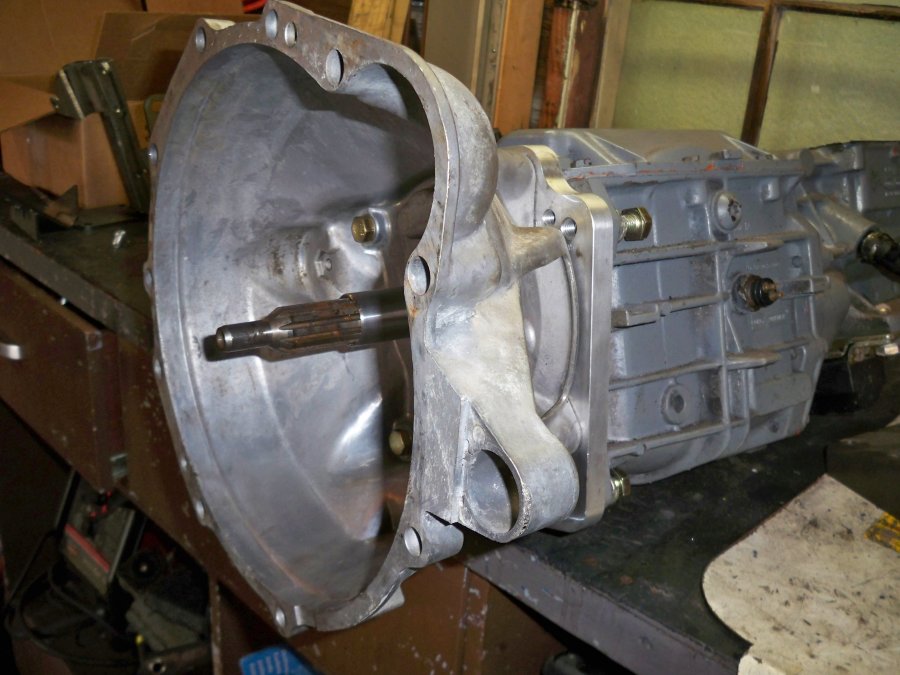
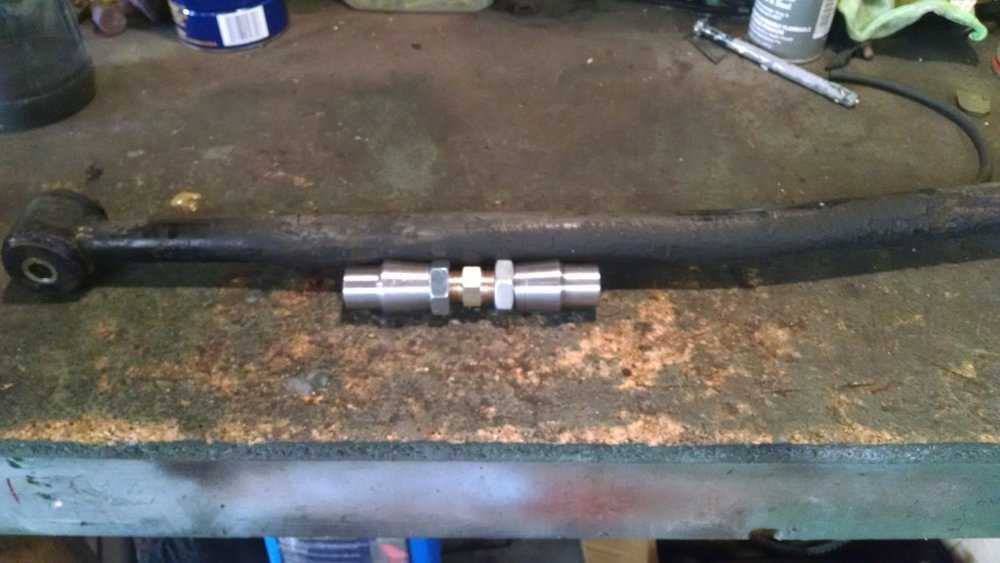
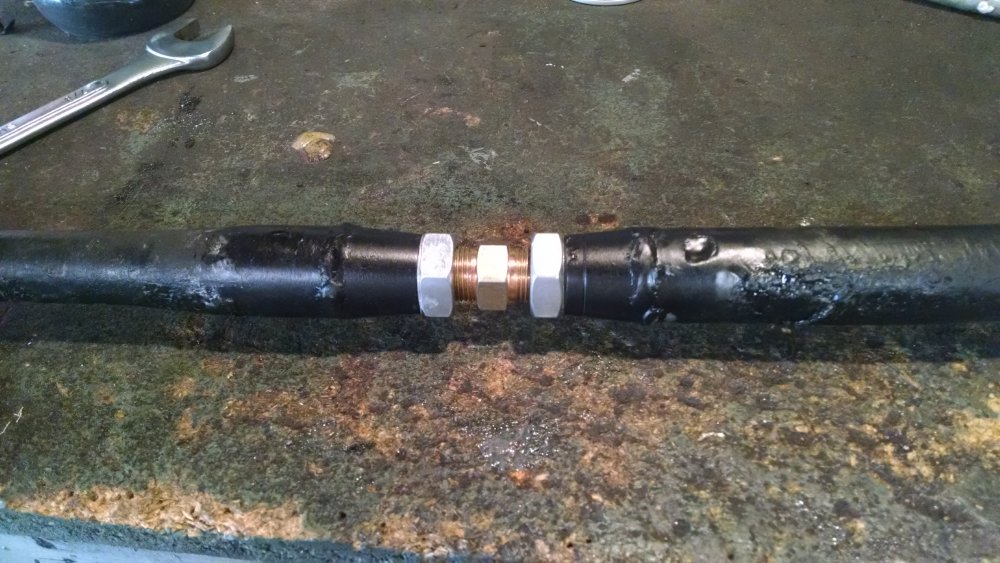
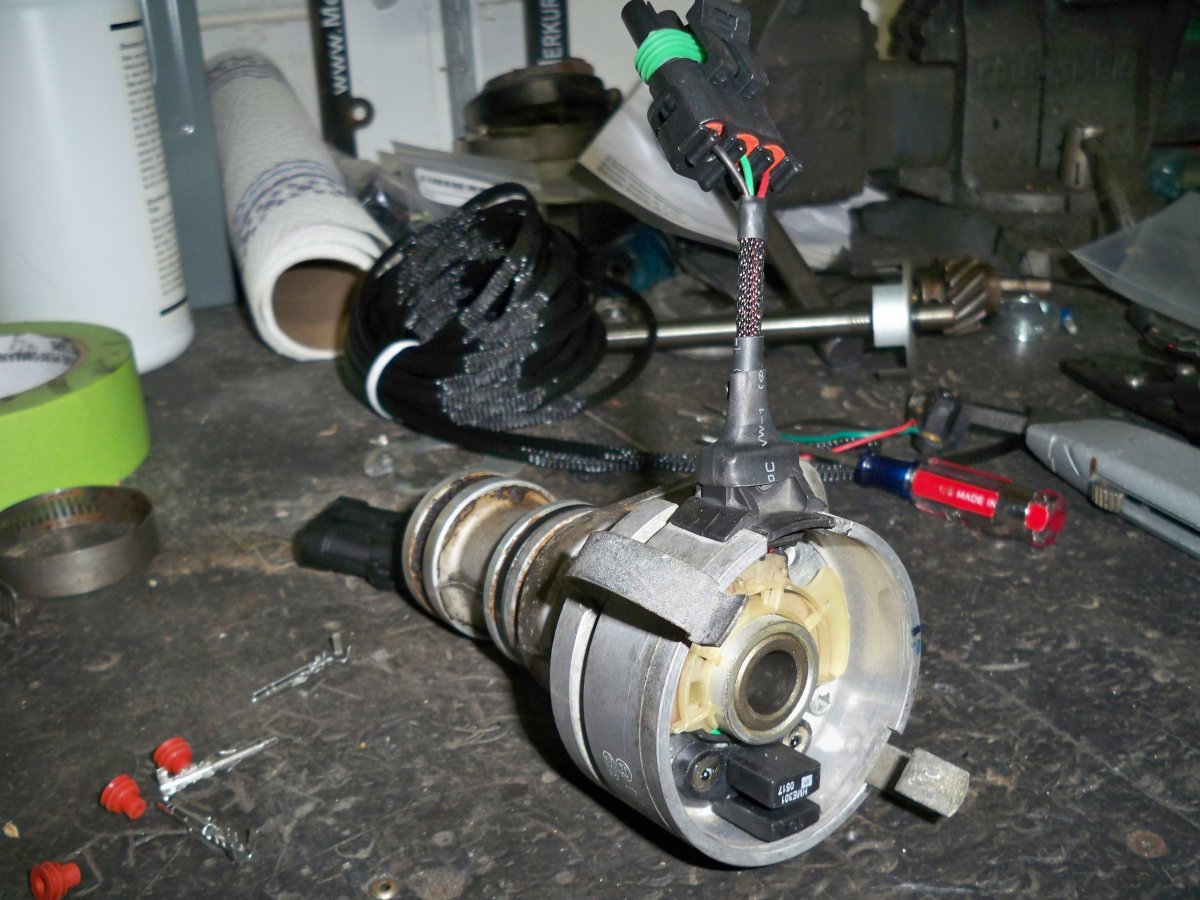
Got things all bolted together.
Bell_mounted.jpg


I still need to sort out other details, like speedo cable, clutch, and driveshaft, before I tear the car apart to do the swap, seeing as it's a daily driver.
Doing some reading, I see there's a NAPA cable that should work for the speedo. The clutch that's in the car is new, and it looks like I can sub a Ford 2.3NA disc for what's in there, to make that work. I'd like to keep the 2-piece DS, but to make things quick, I may go the route of the Yoshifab adpater and a Fox Mustang driveshaft, as I have easy access to those. If it bugs me, I can run it until I get the 2-piece modded.

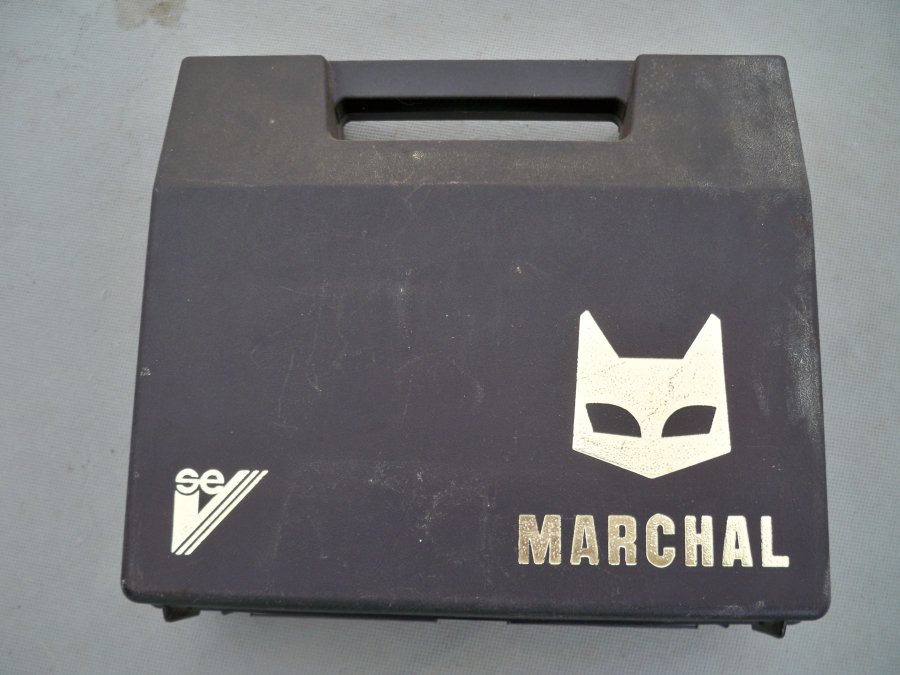
The next project was to finally get the Marchal fogs I had installed. They are NOS from 1980, and I got them from a guy in France. They came in a nifty little kit in a nice little box.
Marchal_box.jpg


Fogs_1.jpg

Fogs_2.jpg


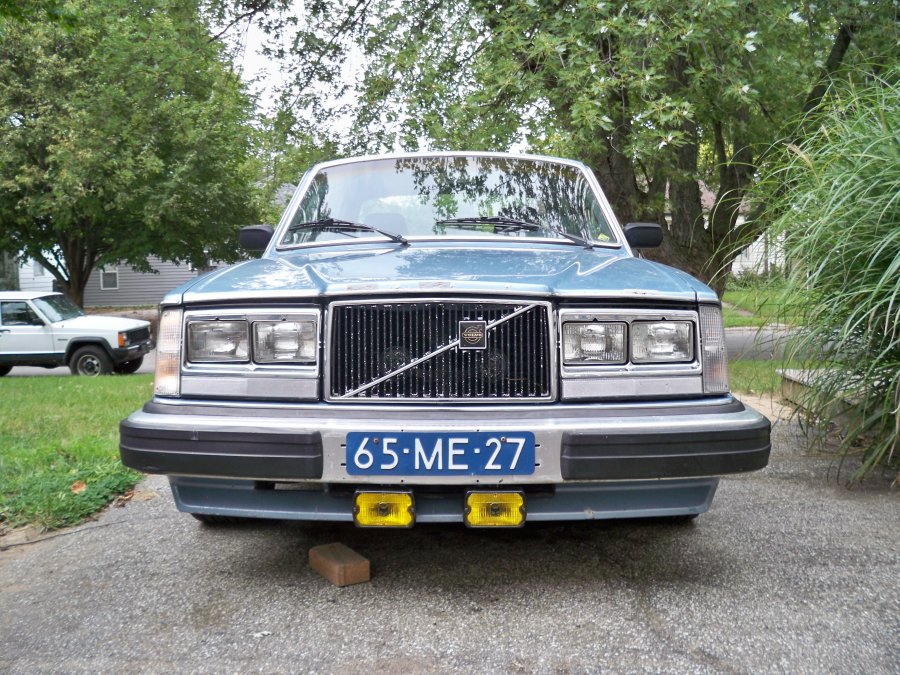
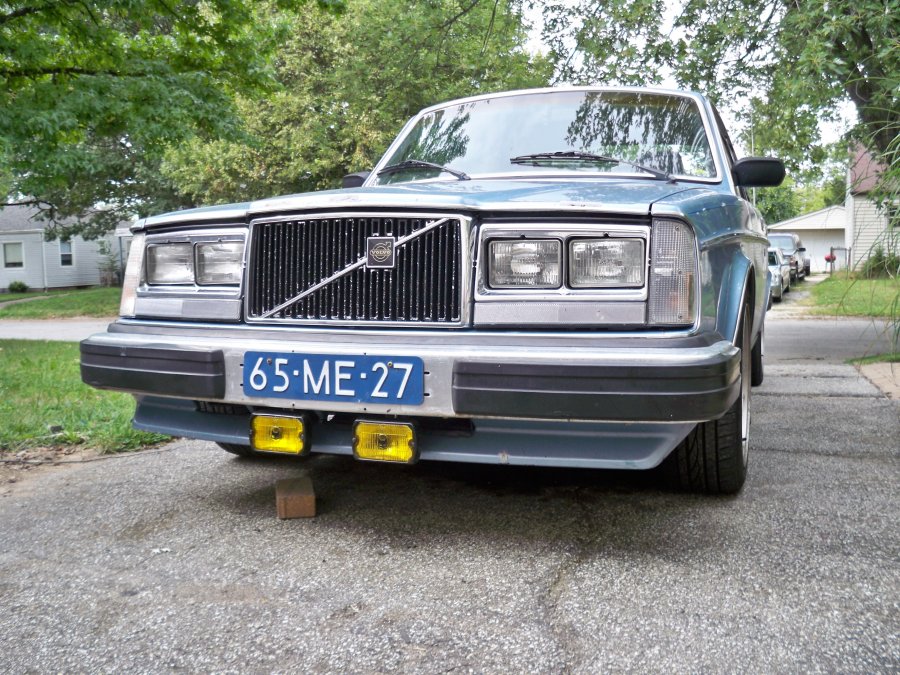
These lights survived the accident that totaled out the '85. They got a little bent, but no broken lenses. The car already had wiring in place for the lights, so it was just a little rework and mounting.
There were 2 sets of previously drilled holes in the bumper, so I didn't want to drill more right now. One set was spaced out a bit, but blocked the front tow hook. The second location was close-set, and I think I may try it this way for now.
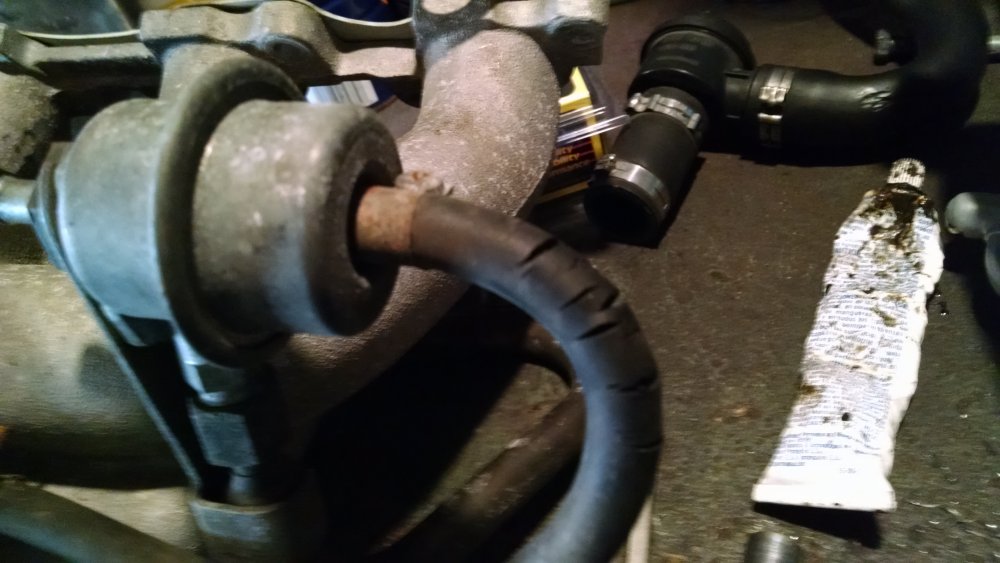
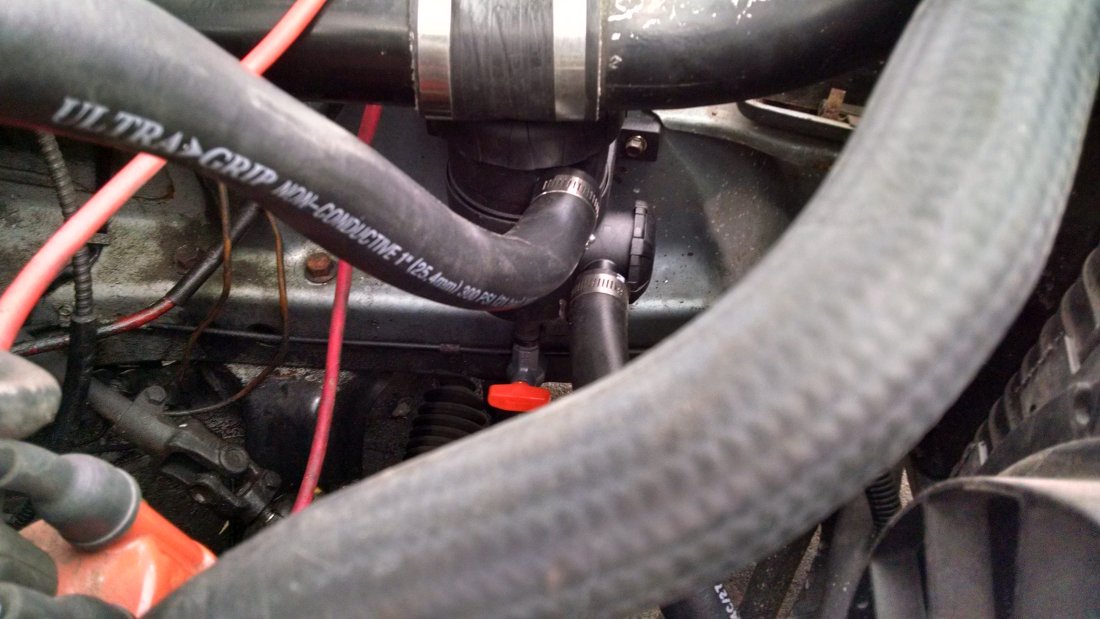
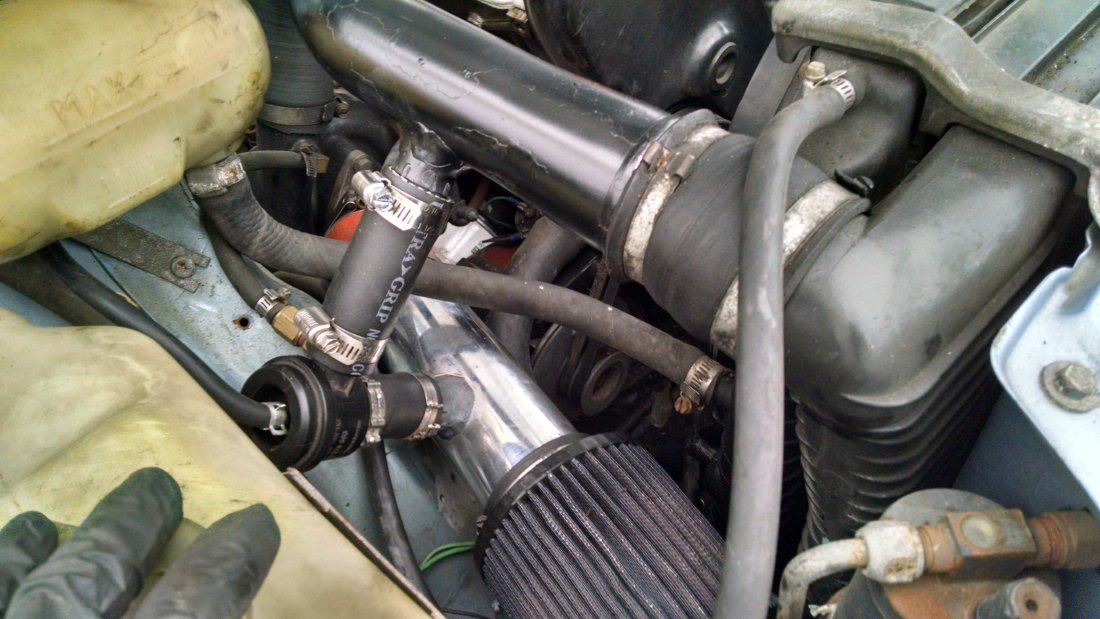
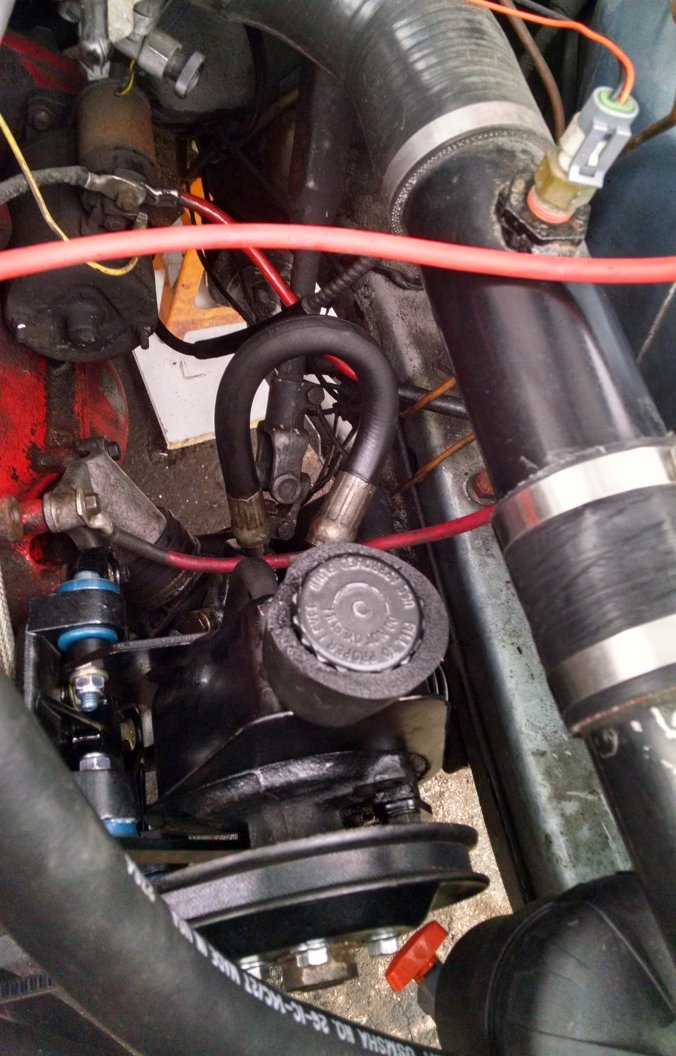
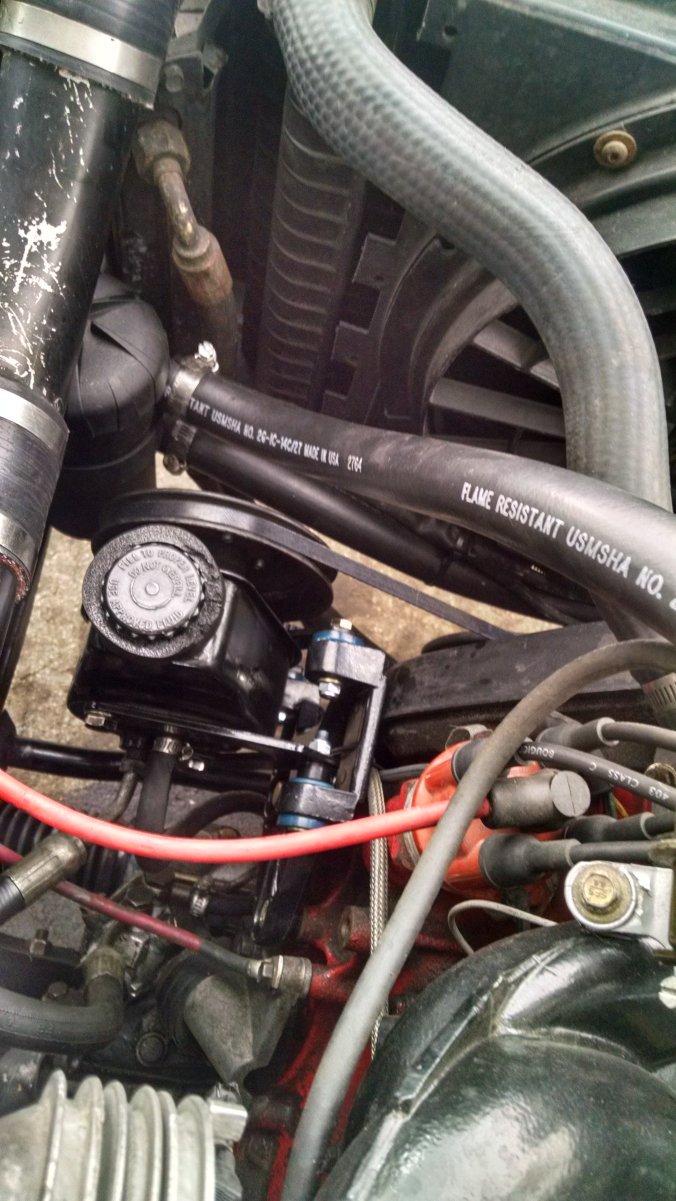
 
Still chugging along. Tackled another small project this weekend.

One of the things this car was lacking compared to the '85 was gauges. The dash in this car was too nice to hack up, and an RS cluster just isn't in the budget at the moment.

I had a bunch of gauges from the '85, and had acquired a few VDO ones from VW's for another project that I had been working on. The other gauges were OK, but they were silver faced, with a silver bezel. I wasn't a fan of that look for this car.

Gauges_2.jpg


I picked up this gauge pod off Amazon for cheap, and installed two of the VDO gauges I had and an Autometer boost gauge.

Gauges_1.jpg

Luckily I had the harnesses for the VDO ones, so it made things neat.

I removed the center "speaker" grille from the dash and set this on top of it.

Gauges_3.jpg
It fit well between the dash pad and window, but I did use some HD velcro to hold it in place. I still need to figure out where my oil pressure gauge wire from the engine harness disappears to when it comes into the cabin, but other than that, they work well. The lights on the VDO's are kind of dim, compared to the Autometer one, but they'll work for now.

I also needed to swap wiper motors, as the old one was being buggy and the intermittent setting wasn't working. Not picture-worthy, however.
 
Well this old girl still lives. Getting ready to get back out onto the road after the winter and salt.

I've been busy going through a few smaller projects that needed to be done.

The CAM rack has been doing the CAM rack thing. Alternating between pulling to one side or puking fluid out at random. I'm wanting to get a ZF for it, so until that time, I just yanked the pump, hoses, etc off.

The WBO2 is fixed, so that is going on, so I can get the tune sorted better.

Today's project was to make the stock PHard bar adjustable. The CAM rack bias issue was a new one to me, so I went down other roads trying to solve the "pulling" issue that I thought I had. It wasn't pulling...it was steering that way.:oops:

Anyway, I'd shortened and rewelded the stock bar a couple times, but now I wanted to give some adjustment, so I can get things pointed in the right direction.

I didn't like the idea of having to remove one end of the bar to adjust it, so I picked up these parts. I got the jack screw from Steinjager
Adjph_1.jpg


I decided to put them into the straighter section on the DS of the bar.
Adjph_2.jpg


Then I cut things up and fired up the welder
Adjph_4.jpg


A little clean up and a little paint, and back into the car.
Adjph_5.jpg


Next projects are swapping out the white headliner, etc for black and picking up a ProVent and dealing with a couple things under the hood.
 
Last edited:
So, the project today was to swap out the white headliner, etc for the black stuff I salvaged from my '85 GLT.

Headliner_1.jpg

Headliner_2.jpg

Headliner_3.jpg

Headliner_4.jpg


Pulled the rear window and removed/installed the headliner board that way. The black one had a small crease in it from a removal flub, but it doesn't show too badly when installed.

I had to dye the sunroof cover, as I wasn't able to get the old one out of the car before I scrapped it.

The only other oddity was the small trim piece around the sunroof opening. For whatever reason, the old one was about 8" too short. After I took the pics, I snipped off a section of the white one and dyed it black.

MUCH happier with the black vs the white.
 
While I'm waiting on my ProVent to show up, I took time today to swap out the intake and the Lo-Z Ford brown-tops that were in there.
IntakeInjswap_1.jpg


While I had things apart, I found an issue that I'm not sure how long has been a thing.
IntakeInjswap_2.jpg

The vac hose to the FPR was all split. I'm sure that wasn't helping my fuel pressure.

Then I got the "new" intake in place. I had picked up a set of turbo whiteblock injectors, so I installed those. Not much more flow than the brown-tops, but they are Hi-Z and EV6, so they're a little "better".

IntakeInjswap_3.jpg


Took it out for some datalogging and tune adjusting. Still only at about 10-11# of boost, mainly because I haven't turned it up. It's running better, but there still is this spot right off idle, that wants to hesitate. The VE Analyzer keeps reading it as WAY lean and wants to dump a bunch of fuel. Not sure what the deal is. I've got AE turned off right now, but it was doing the same thing before I did the swap (and had AE on while I was trying to tune the fuel map).

When I get the ProVent, I'm going to swap out the valve cover and I really should put that wiring into some sort of loom...
 
Last edited:
Time for another update. Had this stuff done for a couple weeks, but just haven't been able to get the time to upload pics, etc.

Finally got around to getting the ProVent installed. While I was in there, I added a Bosch BPV, as I was tired of hearing the turbo try and kill itself with every shift.

VC_Provent_1.jpg


I finally installed the vented VC I had that was intended for the '77, and finally put that bundle of wiring in a loom.

VC_Provent_3.jpg


I wound up mounting the ProVent down on the driver side. I'm going with a manual drain for the moment. Every few days I check it and have only just gotten some condensation, so I think it's fine. I opted just to use the vent on the VC and cap off the block vent, as I don't think I'll need much more than that. Haven't seen any blow-by issues yet.

VC_Provent_2.jpg


All the action over at the turbo inlet. The outlet from the ProVent come up from underneath, so you can't see it here.

Also snagged a fairing for my Yakima, finally.

Fairing.jpg


Working on the 850 at the moment, but the new project list is forming for the next round of work on this!
 
Finally got the ZF rack installed.
ZFrack.jpg


and we have power steering again.

PSpump_1.jpg

PSpump_2.jpg


Had to relocate my ProVent, but got lucky on a nearby, easy to use, location.

I'm not too keen on that high-pressure line loop, but I didn't find one for new, lower location of the PS pump.
 
^Yeah, part of the problem of Volvo's desire to use one high pressure hose. All the non-AC power steering pre-'85 cars are that way... At least, one less thing to buy when you remove the Yorkie compressor.

-J
 
^Yeah, part of the problem of Volvo's desire to use one high pressure hose. All the non-AC power steering pre-'85 cars are that way... At least, one less thing to buy when you remove the Yorkie compressor.

-J

OK, well at least I know that it's a "feature" ;). I thought I had read that there was another, shorter, hose. No biggie.

I really need (want) to get that T5 in here, but I just can't string enough time together to accomplish that, along with everything else.
 
Today's project was to make the stock PHard bar adjustable. The CAM rack bias issue was a new one to me, so I went down other roads trying to solve the "pulling" issue that I thought I had. It wasn't pulling...it was steering that way.:oops:

Anyway, I'd shortened and rewelded the stock bar a couple times, but now I wanted to give some adjustment, so I can get things pointed in the right direction.

I didn't like the idea of having to remove one end of the bar to adjust it, so I picked up these parts. I got the jack screw from


If you don't mind or can even remember, how much did you cut off the panhard bar? I just picked up a spare panhard bar to modify(already ordered bungs and hardware) and it would help to know how much to chop off or just an idea.
 
If you don't mind or can even remember, how much did you cut off the panhard bar? I just picked up a spare panhard bar to modify(already ordered bungs and hardware) and it would help to know how much to chop off or just an idea.

I just cut it based on the pic in post #65. I set it up kind of in the middle of the adjustment and marked and cut where needed. If the car is lowered, you'll prob need to adjust the bar shorter, so allow for enough adjustment in that direction.
 
I just cut it based on the pic in post #65. I set it up kind of in the middle of the adjustment and marked and cut where needed. If the car is lowered, you'll prob need to adjust the bar shorter, so allow for enough adjustment in that direction.

Yeah I think I will be able to figure once I have all the parts in front of me. Thanks for the info though!
 
So, been busy buying a house/moving, preparing for a baby, so other than parts accumulation, not too much has happened to the old girl in a few months.

The 14point7 SLC Free WBO2 I had died a while back, so as a replacement, I picked up one of their Spartan 2 units.

Pretty easy install, seeing as I'd already had installed a WBO2 in there.

I mounted it under the hood
Sprtn2_1.jpg


and installed the bright-ass LED in the dash...
Sprtn2_2.jpg


Need to get that toned down a bit.:wtf:


Right after that was installed was when the HE sensor in the LH2.2 dist decided to die...again. After dealing with 2 DOA used distributors and one DOA NEW sensor, I finally got my hands on a good HKZ101 replacement.

The issue was that it didn't come with any pins or connectors. So, instead of dealing with trying to reuse old pins or splicing wires, I converted the wiring to use weatherpak-type connectors.
Other than the connector, the biggest hassle was getting the gear pin out to pull everything part. Once that is out, it's easy-peasy.

rebuild_1.jpg

rebuild_2.jpg

rebuild_3.jpg

rebuild_4.jpg

rebuild_5.jpg

rebuild_6.jpg

rebuild_7.jpg

rebuild_8.jpg

rebuild_9.jpg

rebuild_10.jpg


Now she's back on the road and ready for more tuning.

Next project is to get the garage wiring upgraded so I can get my welder running, so I can build my new 3" exhaust.
 
Well spring and salt-free roads are finally here, so I was able to pull this out of winter storage last weekend.

Winter_cocoon.jpg


It was in need of brake work, so last weekend I took to getting this stuff installed finally.

Brake_stuff.jpg


The brakes feel great, but every time I have to bleed the brake system on a 240, with it's 8 bleeders, I want to swap the brakes out to something else.:grrr:

Gave it a bath before throwing the Yakima back on it.

4_29_18_1.jpg


I also accumulated more parts for the whiteblock swap over the winter. :nod: 
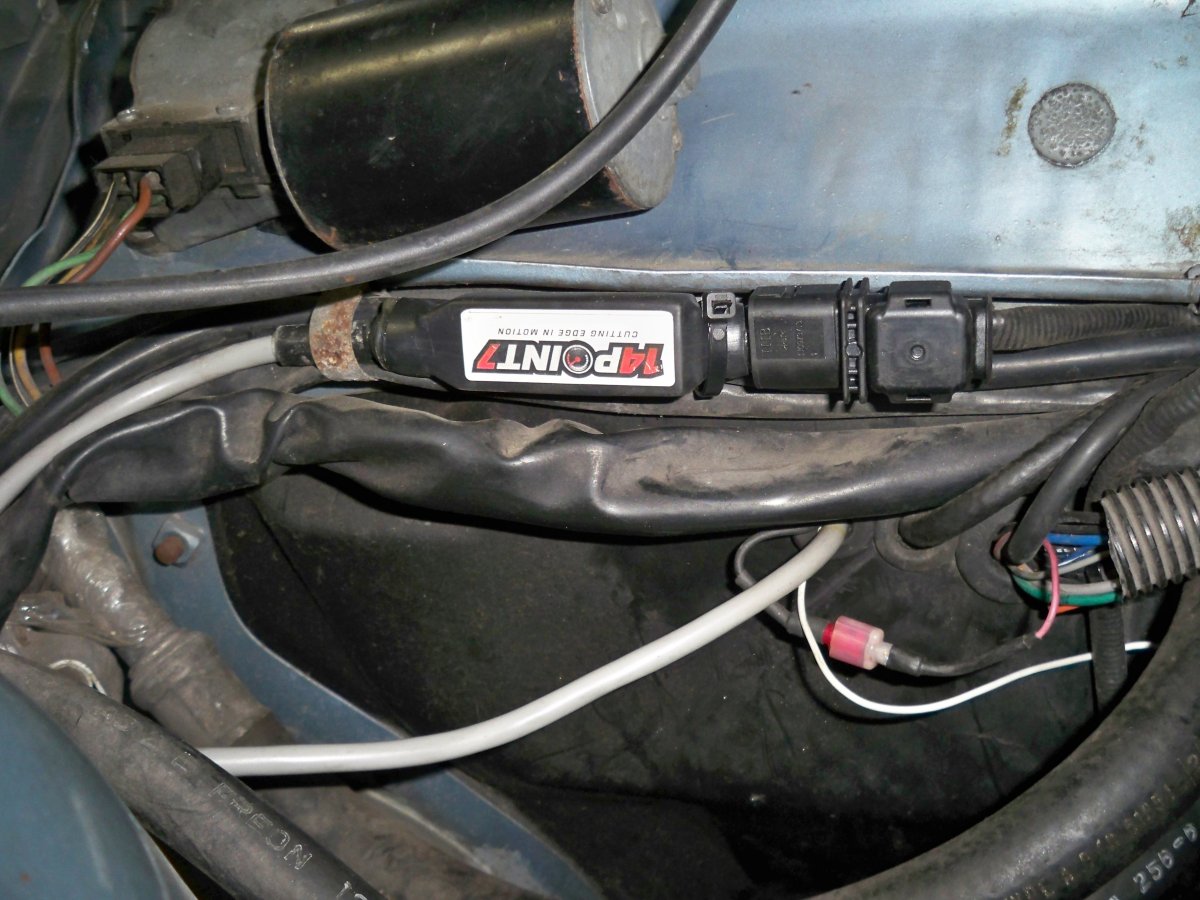
Prob should start looking for an engine soon.
 
Well, since this thing had some previously poorly-repaired body rot in the back of it, I've always been casually looking for a replacement.

I found that replacement this week. More details when it arrives.

The Delores project has come to an end.
 
Just read your thread and build. Great looking 244 that’s getting some very nice attention. On your Panhard bungs you ordered, are they 18mm? I figured they’re bigger than that...love it.
 
Last edited:
Back
Top